Reframe with OTIO files
This guide explains how to use OTIO files from the Reframe v2 API to adjust reframing in Premiere Pro.
Overview
The Reframe v2 API sidecar supports OTIO files, which are also supported in Premiere Pro 25.6.0 or above. Open Timeline IO format (OTIO) is an interchange format for video editing information. OTIO contains information about the order and length of cuts and references to external media.
With the .otio sidecar format, users get the maximum reframe flexibility for specific shots, leveraging scene edit detection cuts (in the set aspect ratio) in a timeline that's not destructive to the source file. This allows for quick and easy adjustments to the reframe of specific shots.
Making adjustments in Premiere Pro
To make adjustments using the .otio file in Premiere Pro:
Import the
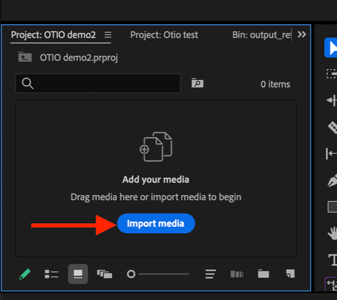
.otiofile. Do this by finding the file locally using File > Import (⌘+I on Mac), using the Import Media button in the Project panel, double clicking an empty place in the Project panel, or drag and drop the.otiofile into the Project panel. Importing an.otiofile will add a sequence and source file reference in the Project panel.
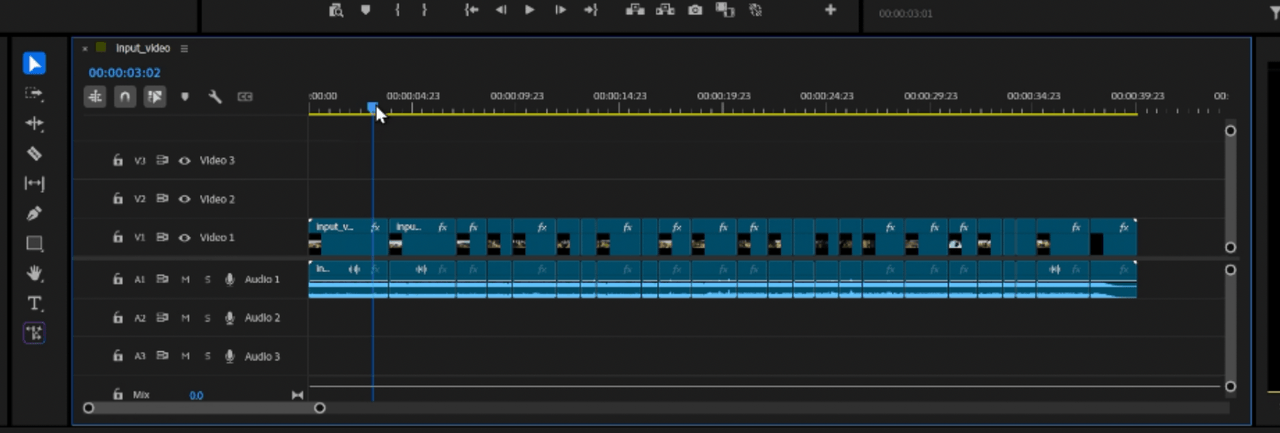
Open the video sequence by double clicking on the video thumbnail. The source file will open in the Timeline panel, showing cuts at each point where a new scene is detected. This allows corrections to the duration of a specific shot.
To playback the video, position the blue play head at the start of the timeline and press spacebar to play. Pressing spacebar again pauses playback. Using play and pause, the blue line of the play head shows the underlying clip range that a user may adjust with the reframe.

Find the clip that needs an adjustment and open the Effect Controls panel to see the selected clip's parameters and effects list. The
.otiofile has added the Auto Reframe effect and created key frames.Use the Reframe Offset option to adjust the offset (the X-position) of the area of interest, while keeping the tracking key frames.
