How to read a file
This tutorial will show you how an XD plugin can read in a file from the file system. As one of example of what you can do with a file, we'll extract text from the file and add that text to the scenegraph.
Prerequisites
- Basic knowledge of HTML, CSS, and JavaScript.
- Quick Start Tutorial
- Debugging Tutorial
Development Steps
Info Complete code for this plugin can be found on GitHub.
1. Prepare your plugin scaffold
First, edit the manifest file for the plugin you created in our Quick Start Tutorial.
Replace the uiEntryPoints field of the manifest with the following:
Copied to your clipboard1"uiEntryPoints": [2 {3 "type": "menu",4 "label": "Insert Text From File",5 "commandId": "insertTextFromFileCommand"6 }7]
If you're curious about what each entry means, see the manifest documentation, where you can also learn about all manifest requirements for a plugin to be published in the XD Plugin Manager.
Then, update your main.js file, mapping the manifest's commandId to a handler function.
Replace the content of your main.js file with the following code (note the presence of the async keyword, which we'll look at in a later step):
Copied to your clipboard1async function insertTextFromFileHandler(selection) {2 // The body of this function is added later3}45module.exports = {6 commands: {7 insertTextFromFileCommand: insertTextFromFileHandler,8 },9};
The remaining steps in this tutorial describe additional edits to the main.js file.
2. Require in XD API dependencies
For this tutorial, we need access to two XD scenegraph dependencies and one UXP dependency.
Add the following lines to the top of your main.js file:
Copied to your clipboard1// Add this to the top of your main.js file2const { Text, Color } = require("scenegraph");3const fs = require("uxp").storage.localFileSystem;
Now the Text and Color classes are required in and ready to be used, as well as UXP's local file system provider.
3. Create a handler function
Our plugin will allow the user to pick a file from the system file picker, read that file's contents, and add the contents to a text object on the scenegraph.
Each of the numbered comments are explained below the code:
Copied to your clipboard1async function insertTextFromFileHandler(selection) {2 // [1]3 const aFile = await fs.getFileForOpening({ types: ["txt"] }); // [2]4 if (!aFile) return; // [3]56 const contents = await aFile.read(); // [4]78 const text = new Text(); // [5]9 text.text = contents;10 text.styleRanges = [11 {12 length: contents.length,13 fill: new Color("#0000ff"),14 fontSize: 12,15 },16 ];1718 selection.insertionParent.addChild(text); // [6]19 text.moveInParentCoordinates(10, 30);20}
- This example uses XD's asynchronous Filo I/O APIs, so the handler function must be declared as an async method. To learn more about async support in XD plugin APIs, see our document on sync and async support.
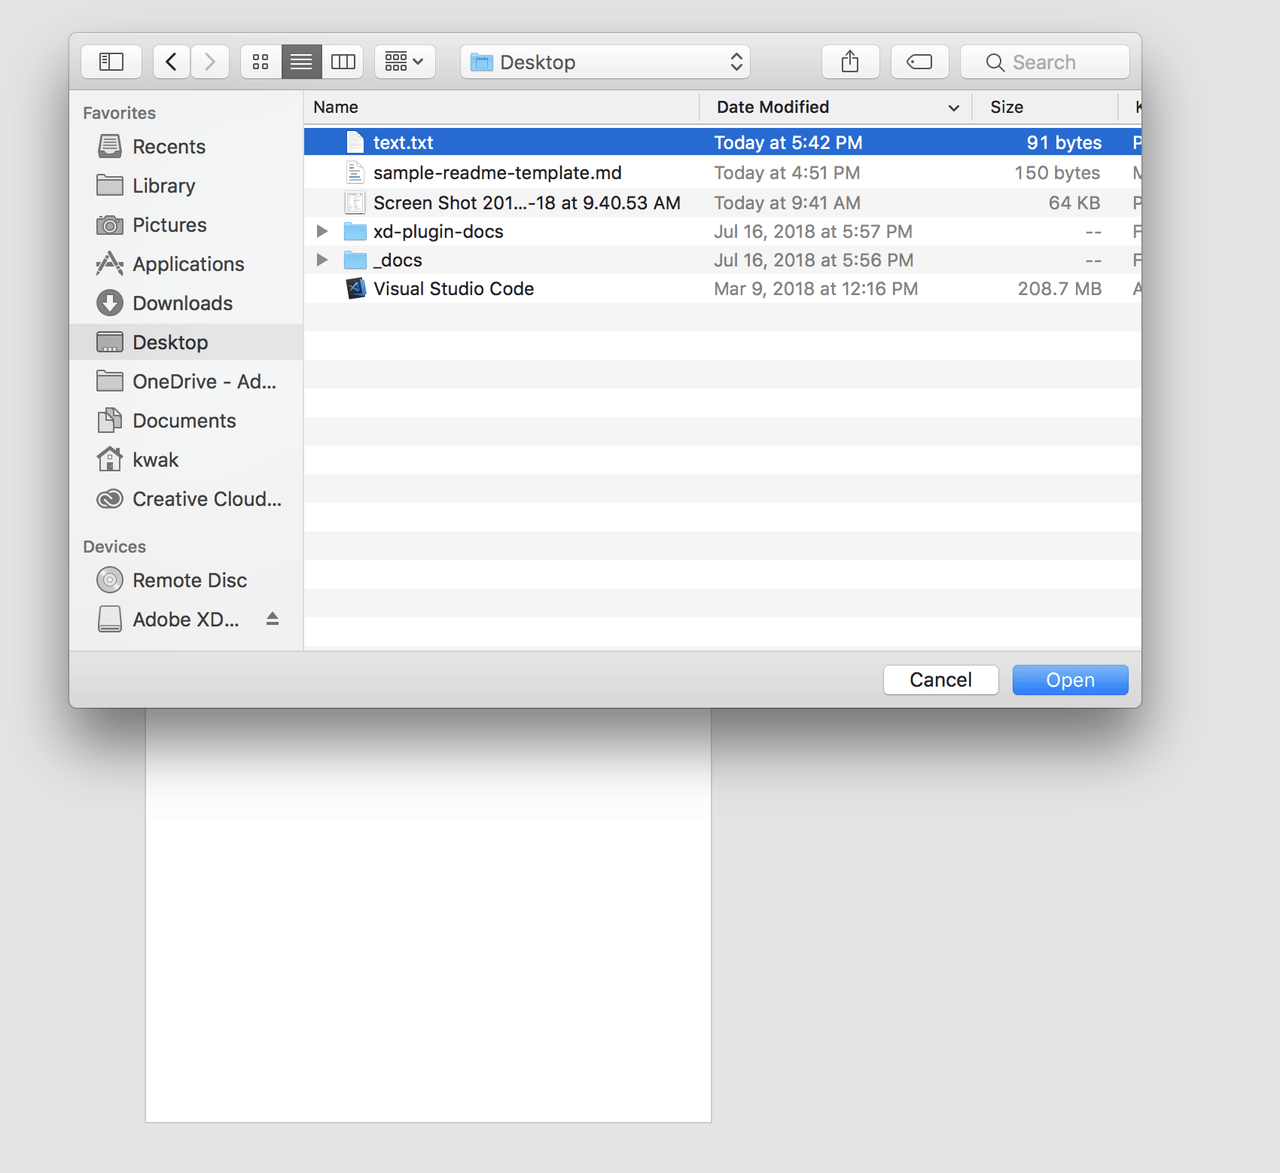
- A file picker dialog is displayed, and the function waits for the user to select a text file. The selected file is assigned to
aFile. The#getFileForOpeningmethod is asynchronous, so theawaitkeyword is used. - If
aFileis undefined (because the user did not select a file), then plugin exits. - The contents of the file is read in, and returned as a string. See below for more detail. The
#readmethod is asynchronous, so theawaitkeyword is used. - The contents of the string is added to a
Textobject. For details onTextproperties, see the "How to style text" tutorial. - The
textobject is added to and positioned on the selected artboard.
4. Run the plugin
After saving all of your changes, reload the plugin in XD and run it. First you'll see a file picker:

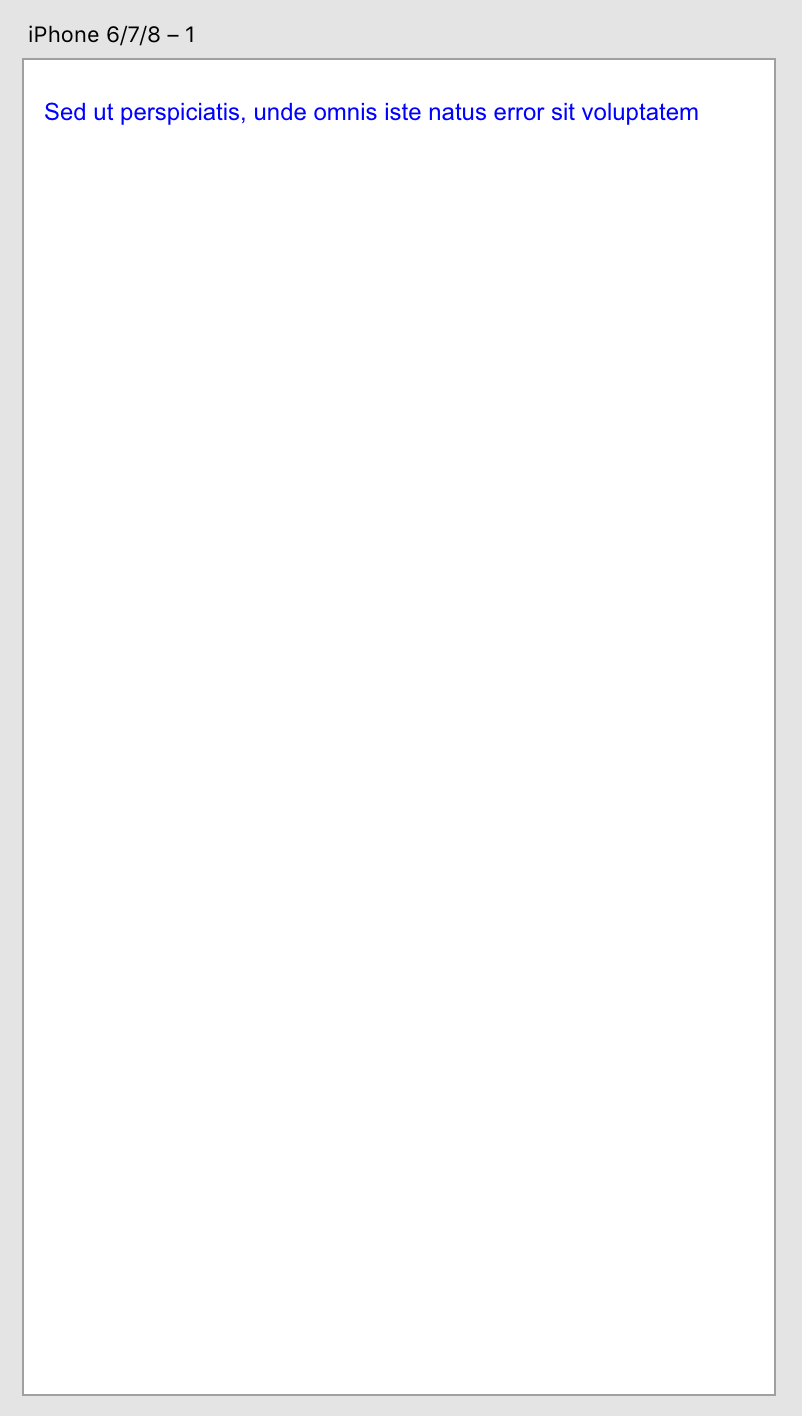
If you select a file containing text, the text should be added to the currently-selected artboard:


