Photoshop API Key Concepts
If you're not already familiar with the Photoshop app, learn more about key features you can use in the app and then apply the API to create and enhance images.
Layers and Target Layer
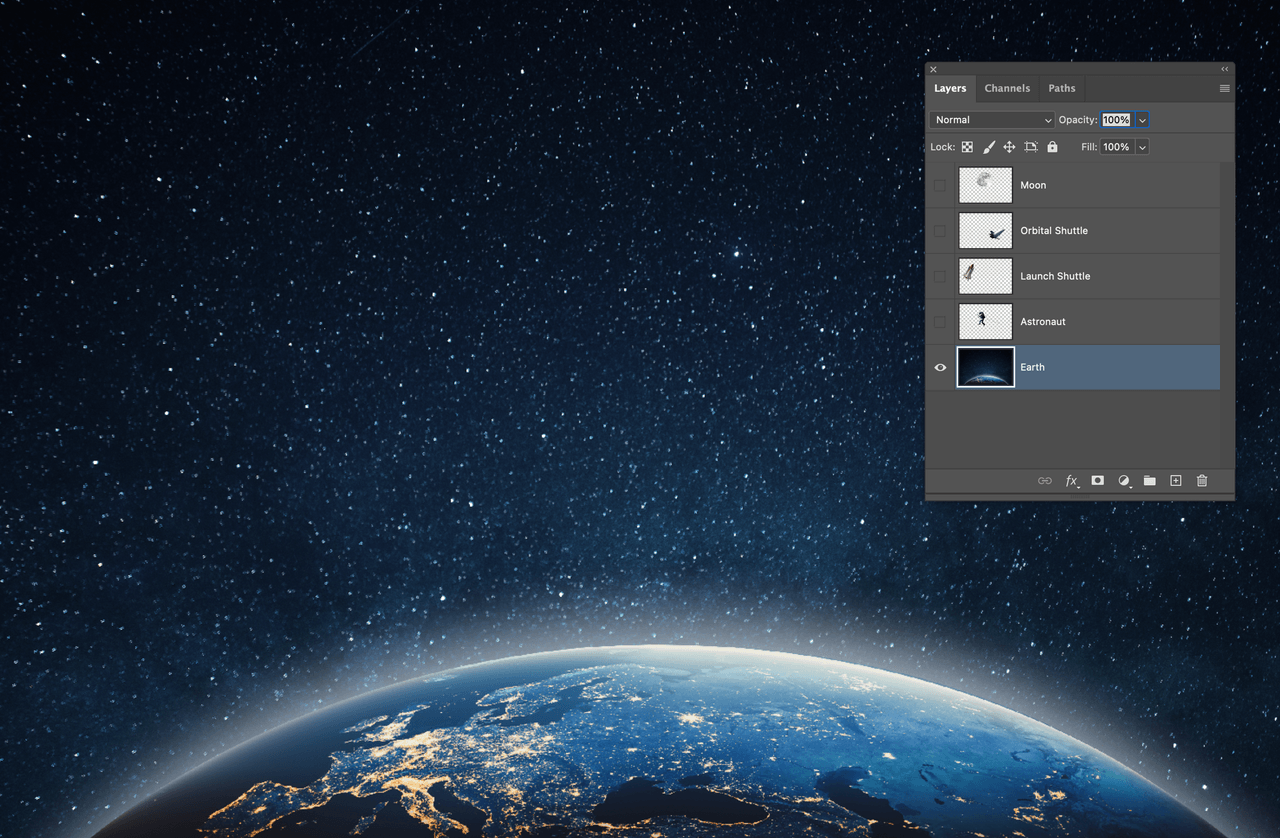
You use layers in Photoshop to stack different parts of an image. Each layer is like a sheet of transparent glass where you can add photos, paint on it, or add vectors. When you stack layers, you can see parts of the image below as if parts of an upper layer are still transparent and you can see parts of the layer below. Layers isolate each part of an image so you can independently perform image enhancements to one particular layer. For example, you can view each layer here in the Layers Panel in the Photoshop app:

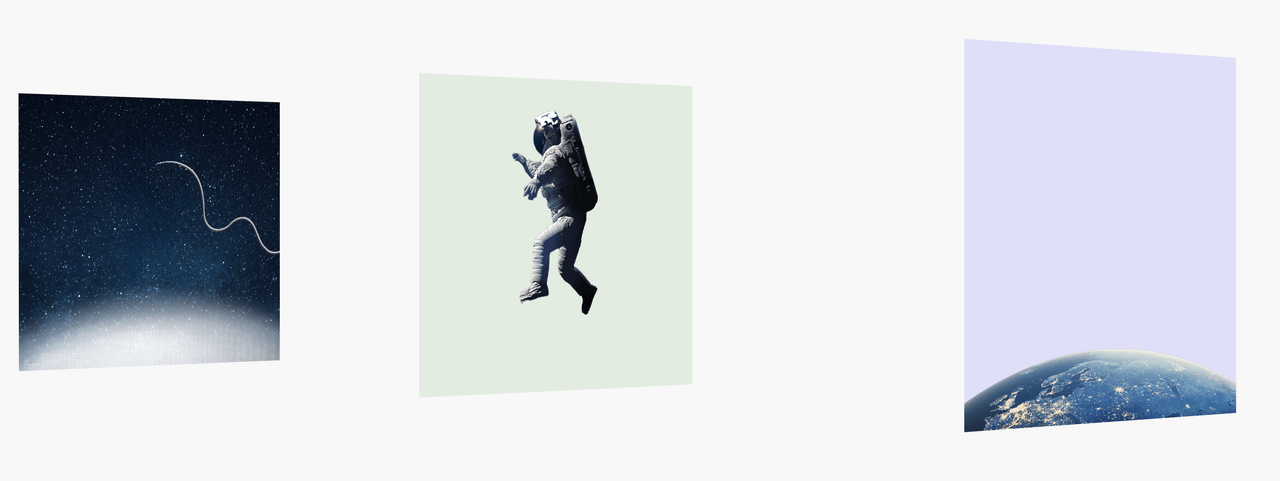
If you separate an image into layers, you would see something like this:

And if you only choose to view one layer, such as the earth in the image, you see this:

In both the Photoshop app and the API, we have a concept of target layer. This is the layer that you select and any operations you perform only apply to this layer. For example, if we select the astronaut in our original image, resizing it only applies to this layer and we get this result:

In short, layers that you define in the Photoshop app enable you to organize different parts of an image into manageable parts of a whole. Later with Photoshop API, you can isolate image adjustments such as resizing or filling with generative background by applying your change to only a specified individual target layer. For more information about layers see, Photoshop, layer basics.
Selections
In the Photoshop app, we use selections to define an area in an image that we want to enhance or adjust. A selection can include an object, a defined color range, and so on. As is the case with target layers, any operation you perform only applies to the selection itself. For example, we can make a selection in the Photoshop app:

In the image above, the pink area is our selected area which we created using the Photoshop app. After you create a selection in the Photoshop app, you can later adjust these areas with Photoshop API such as inserting a background, or by expanding that part of the image. To learn more, see Photoshop, Getting started with selections.
Masks
In the Photoshop app, masking enables you to hide portion of a layer and to reveal the layers below. It is a nondestructive way to hide parts of an image or layer without erasing them. Masking is a great way to make image composites, modify background colors, remove or cut out objects, and target your image adjustments so they affect only certain areas, rather than the entire layer. You can define a mask in your Photoshop app and later manipulate that part of the image with Photoshop API.
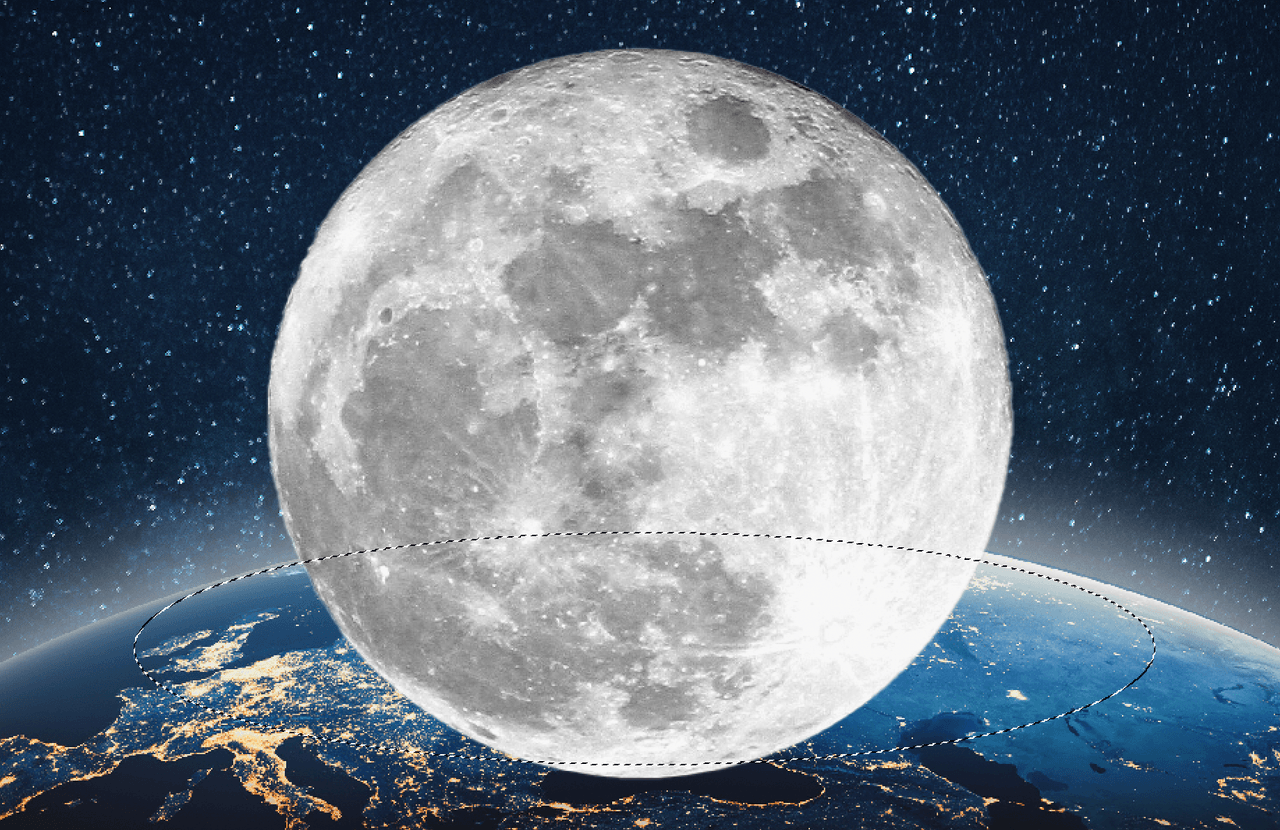
For example, we have this image with two layers, with the earth and space in the background and the moon in the forefront:

On the top layer with the moon, we can define an area that we want to mask out:

After we apply a mask, we see the earth and space background in the area that we masked:

Similar to layers and selections, masks enable you to target parts of an image and perform adjustments. Unlike selections and layers, any enhancements apply to the mask itself, not the image being masked or the image exposed by the mask. With Photoshop API and image masks that you create in the Photoshop app, you can perform sophisticated image adjustments without deleting or permanently altering your source images. To learn more about masks in Photoshop, see Photoshop, Mask Layers.

