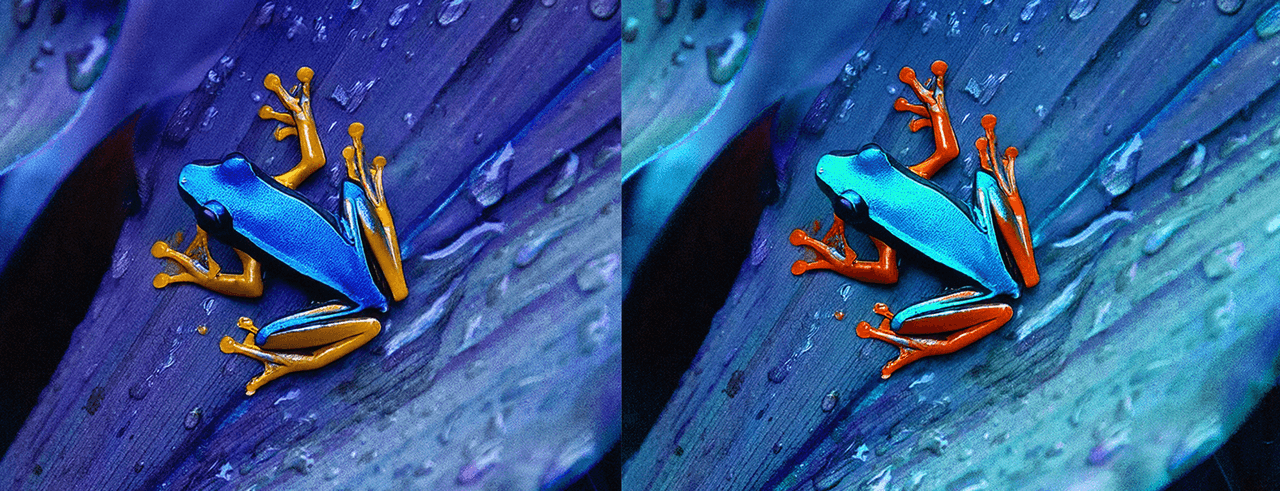
Photoshop Actions and the API
You can record numerous image adjustments in the Photoshop app and later apply them at scale with the API
Photoshop Actions
Actions are a series an image adjustment that you can record in the Photoshop app and then you can later apply to one or more images.
Typically, you apply actions on a single file or a batch of files and you record actions from Photoshop app menu commands, panel options, tool actions, and more.

For example, you can create an action file that changes the hue and saturation of an image, applies a slight blur effect to the image, and then saves the file in the desired format. In the Photoshop app, you create a sequence of actions and then save these image adjustments in a single file, known as an ATN file. You can later call the Photoshop API to run one or more actions from your ATN file and apply these actions to multiple images.
For background information on Photoshop Actions, see the Adobe Help Center.
Supported Input and Output formats
We support the following file formats for Photoshop API with Photoshop Actions:
- PSD
- JPEG
- PNG
- TIFF
Best Practices and Limitations
- We support all Photoshop app dialogs, however we do not support interactions with operating system dialogs. The later means you cannot use Photoshop API to programmatically open a system-level print settings dialog.
- We recommended creating Actions that do not require user intervention such as confirming a selection or providing file paths.
- Make sure to test your actions on Photoshop, with several different input/images. If it has any errors in Photoshop, it won't run successfully on our servers either.
The following are known limitations which Photoshop API does not support:
- Photoshop 3D, and Video and animation features features.
- Custom presets, for example color swatches and brushes.
- This endpoint does not currently support multiple file inputs.
You can choose to playback all of the tasks recorded in an Action or you can selectively choose a particular task from an Actions file and exclude the rest.
Examples
In this example we applied a custom Action called Posterize. This ATN file had multiple recorded Photoshop tasks including Select Subject, Remove Background, Posterize, and Export as PNG.

Copied to your clipboardcurl -X POST \https://image.adobe.io/pie/psdService/photoshopActions \-H "Authorization: Bearer $token" \-H "x-api-key: $apiKey" \-H "Content-Type: application/json" \-d '{"inputs": [{"href": "https://as2.ftcdn.net/jpg/02/49/48/49/500_F_249484911_JifPIzjUqzkRhcdMkF9GnsUI9zaqdAsn.jpg","storage": "external"}],"options": {"actions": [{"href": "https://raw.githubusercontent.com/johnleetran/ps-actions-samples/master/actions/Posterize.atn","storage": "external"}]},"outputs": [{"storage": "<storage>","type": "image/jpeg","href": "https://some-presigned-url/output.jpeg"}]}'
For another example, see Execute Individual Photoshop Action
ActionJSON Endpoint
Similar to the Photoshop Actions endpoint, this endpoint also helps you to apply the contents of ATN file to an image programmatically. However, there are a few key differences which give you added flexibility.
- You can modify the payload, such as adding an action.
- You don’t need to upload and store your ATN file at Firefly Services as you do with the Photoshop Actions endpoint.

The /actionJSON endpoint can take an input file and apply any Photoshop Action file on it and edit the steps within the original action file. This gives you a lot of flexibility to create dynamic changes to an otherwise static Action file. In this example we are going to use a familiar asset and action file and we are going to modify the payload to return an output that executes all of the steps of the original action with one modification, instead of color we are going to use actionJSON to return a black and white image. This action file contains over 70 steps so we wont show the entire JSON payload but will share the part we modified to achieve the output.
Copied to your clipboardcurl -X POST \https://image.adobe.io/pie/psdService/actionJSON \-H "Authorization: Bearer $token" \-H "x-api-key: $apiKey" \-H "Content-Type: application/json" \-d '{"inputs": [{"href": "<SIGNED_GET_URL>","storage": "<storage>"}],"options": {"actionJSON": [{"_obj": "imageSize","constrainProportions": true,"interfaceIconFrameDimmed": {"_enum": "interpolationType","_value": "automaticInterpolation"},"scaleStyles": true}, {"_obj": "imageSize","constrainProportions": true,"interfaceIconFrameDimmed": {"_enum": "interpolationType","_value": "automaticInterpolation"},"resolution": {"_unit": "densityUnit","_value": 72.0},"scaleStyles": true},{"_obj": "make","_target": [{"_ref": "adjustmentLayer"}],"using": {"_obj": "adjustmentLayer","type": {"_obj": "blackAndWhite","blue": 20,"cyan": 60,"grain": 40,"magenta": 80,"presetKind": {"_enum": "presetKindType","_value": "presetKindDefault"},"red": 40,"tintColor": {"_obj": "RGBColor","blue": 179.00115966796876,"grain": 211.00067138671876,"red": 225.00045776367188},"useTint": false,"yellow": 60}}}]},"outputs": [{"type": "image/jpeg","storage": "<storage>","href": "<SIGNED_POST_URL>"}]}'
The actionJSON endpoint does support multiple inputs. If you would like to learn more about using multiple inputs with actionJSON, you can find this: Multiple Inputs ActionJSON Example.
Take a look at this tutorial of this endpoint to learn more. Alternately you can read on in this section to walk through the process.
Enable Developer Mode
If you haven't already enabled developer mode in your Photoshop app, follow these steps:
Select:
Photoshop → Preferences → Plugins...(For Mac) OrEdit → Preferences → Plugins...(For Windows)
Select
Enable Developer ModeQuit Photoshop
Enable this as a hidden feature if you are using Photoshop 23.4 (July 2022) or earlier. Execute the command below:
For Mac
Copied to your clipboardecho "UXPEnableScriptingUtilities 1" >> "/Users/$USER/Library/Preferences/Adobe Photoshop 2021 Settings/PSUserConfig.txt"For Windows Powershell
Copied to your clipboardecho "UXPEnableScriptingUtilities 1" >> "C:\Users\$env:USERNAME\AppData\Roaming\Adobe\Adobe Photoshop 2021\Adobe Photoshop 2021 Settings\PSUserConfig.txt"At this point you can reopen your Photoshop app with developer mode enabled.
Create New actionJSON
If you have developer mode enabled in Photoshop follow the instructions below. If you don't have developer mode enabled below please see the previous section.
- Open the Photoshop app
- Select
Settings | Plugins - Select
Development - Select
Record Action Commands... - Name your file and click
Save. You can now make select actions in Photoshop such as resizing an image, adjusting hue and saturation and son on. Photoshop saves all of your actions in your new file.
Once you are done recording your action, you can stop recording and save:
- Select
Settings | Plugins - Select
Development - Click
Stop Action Recording
Photoshop app saves your actions to the directory you chose when you named your file.
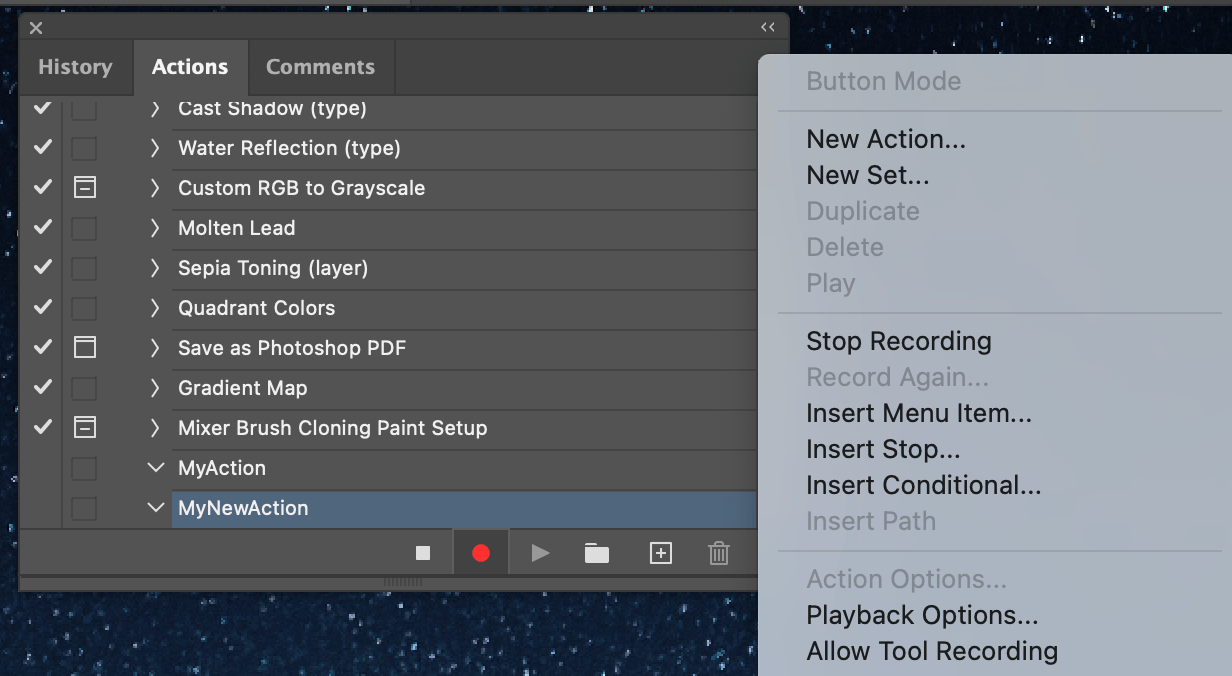
Create actionJSON in Actions Panel
You can alternately create a new file in your Photoshop app's Action Panel:
- Go to
Windows | Actions. The action panel opens. - Select
New Actionto create a new action. You can alternately click+in the panel.
- Select your action from action set
- Select
Copy as Javascript - Paste it in any text editor.
- Modify the file to trim out the actions. An example is shown below in the code sample.
Now you can use the action in your Photoshop API payload
Convert ATN files into actionJSON
This endpoint enables you to convert an .atn file to actionJSON format. This is the simplest and easiest way to create an actionJSON file.
Convert ATN files into actionJSON with Photoshop
- Go to
Windows | Actions. The action panel opens. - Select
Load action - Choose the action you would like to convert to actionJSON
- Click on
copy as Javascript - Paste it in any text editor
- Modify the file to trim out the actions obj blocks An example is shown below in the code sample.
You can now use the action in your payload. Here is a code sample of Action JSON when you copy actions as Javascript from Photoshop:
Copied to your clipboardasync function vignetteSelection() {let result;let psAction = require("photoshop").action;let command = [// Make snapshot{"_obj":"make","_target":[{"_ref":"snapshotClass"}],"from":{"_property":"currentHistoryState","_ref":"historyState"},"using":{"_enum":"historyState","_value":"fullDocument"}},// Feather{"descriptor": {"_obj":"feather","radius":{"_unit":"pixelsUnit","_value":5.0}}, "options": {"dialogOptions": "display"}},// Layer Via Copy{"_obj":"copyToLayer"},// Show current layer{"_obj":"show","null":[{"_enum":"ordinal","_ref":"layer","_value":"targetEnum"}],"toggleOptionsPalette":true},// Make layer{"_obj":"make","_target":[{"_ref":"layer"}]},// Fill{"_obj":"fill","mode":{"_enum":"blendMode","_value":"normal"},"opacity":{"_unit":"percentUnit","_value":100.0},"using":{"_enum":"fillContents","_value":"white"}},// Move current layer{"_obj":"move","_target":[{"_enum":"ordinal","_ref":"layer","_value":"targetEnum"}],"to":{"_enum":"ordinal","_ref":"layer","_value":"previous"}}];result = await psAction.batchPlay(command, {});}async function runModalFunction() {await require("photoshop").core.executeAsModal(vignetteSelection, {"commandName": "Action Commands"});}await runModalFunction();
Modify the javascript file to trim out the actions.
Remove everything else from the javascript file and copy the array containing _obj from the command variable which will look something like below
Copied to your clipboard[{"_obj":"make","_target":[{"_ref":"snapshotClass"}],"from":{"_property":"currentHistoryState","_ref":"historyState"},"using":{"_enum":"historyState","_value":"fullDocument"}},{"_obj":"feather","radius":{"_unit":"pixelsUnit","_value":5.0}},{"_obj":"copyToLayer"},{"_obj":"show","null":[{"_enum":"ordinal","_ref":"layer","_value":"targetEnum"}],"toggleOptionsPalette":true},{"_obj":"make","_target":[{"_ref":"layer"}]},{"_obj":"fill","mode":{"_enum":"blendMode","_value":"normal"},"opacity":{"_unit":"percentUnit","_value":100.0},"using":{"_enum":"fillContents","_value":"white"},{"_obj":"move","_target":[{"_enum":"ordinal","_ref":"layer","_value":"targetEnum"}],"to":{"_enum":"ordinal","_ref":"layer","_value":"previous"}}]
You can find details about actionJSON at Photoshop API, batchPlay.


