Create a project in Adobe Developer Console
UI Extensions, as with any App Builder application, are represented as projects in Adobe Developer Console.
If you don't have access to the Adobe Developer Console, refer to the Get Access guide for instructions.
To begin, we need to create a new Project that will provide us with the necessary configuration and resources.
- Sign in to Adobe Developer Console with your Adobe ID.
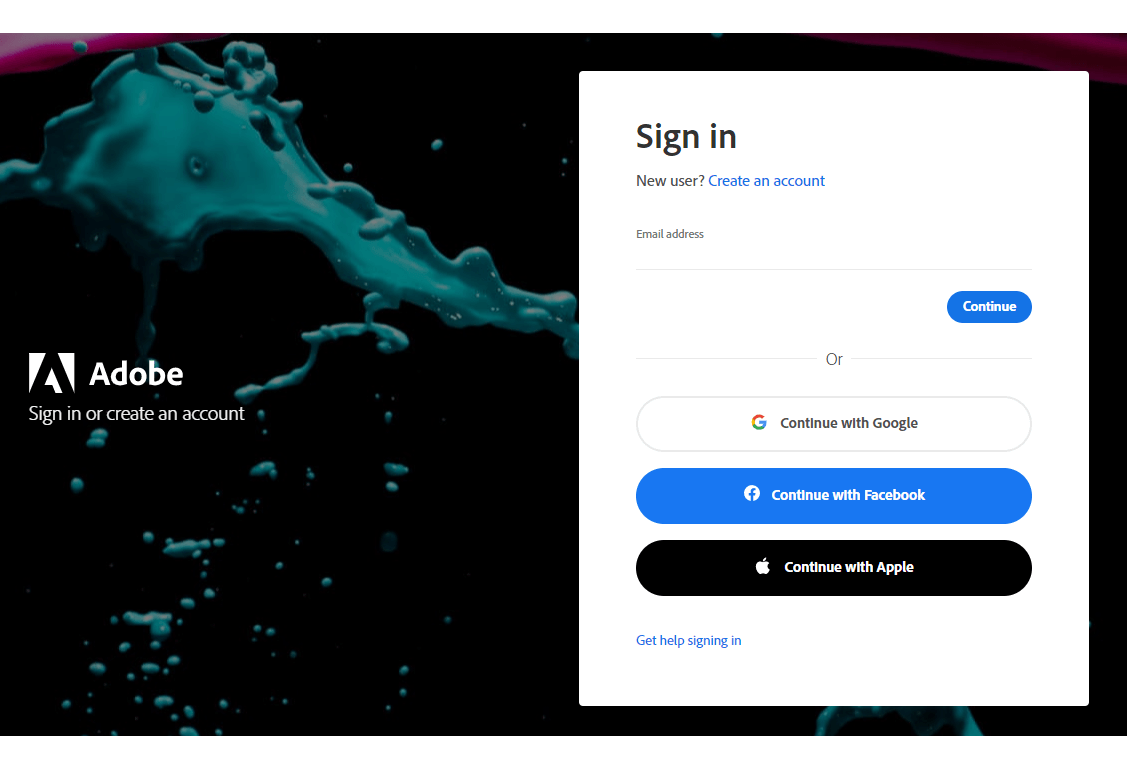
- Choose your account.
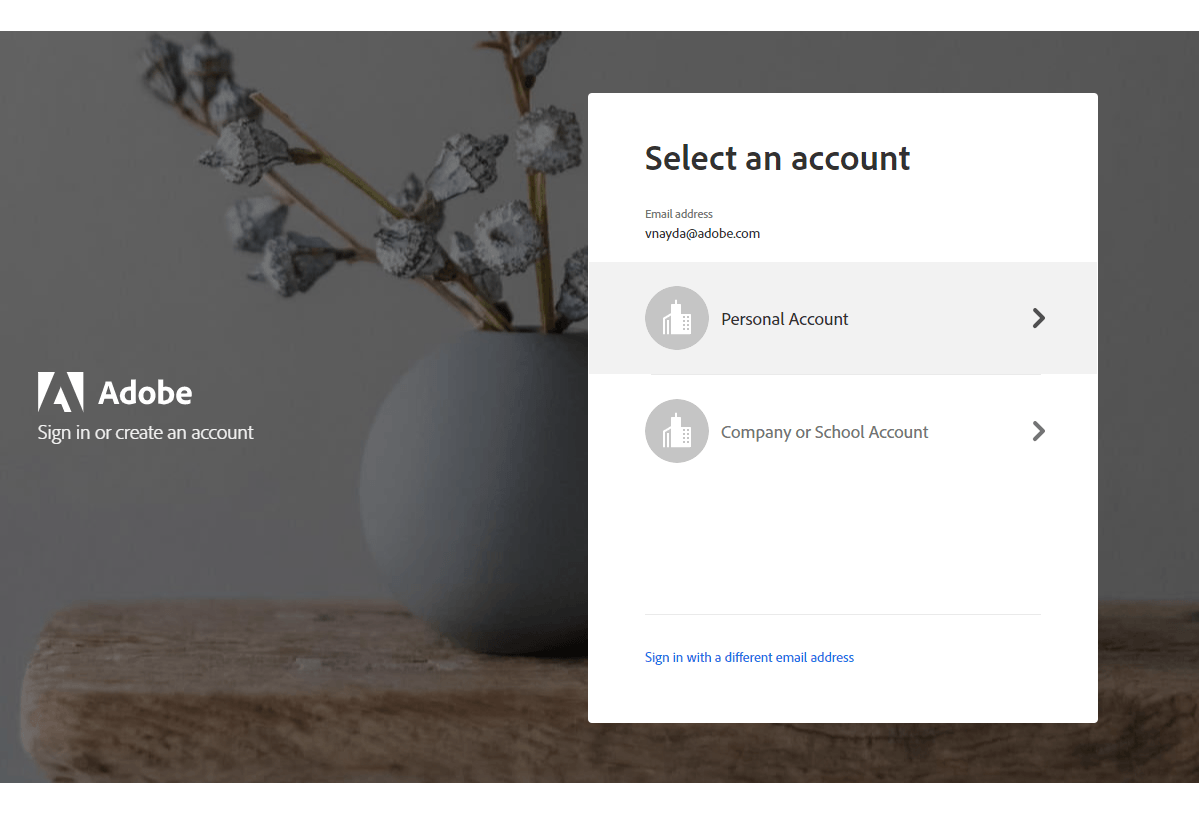
- Choose your profile or organization.
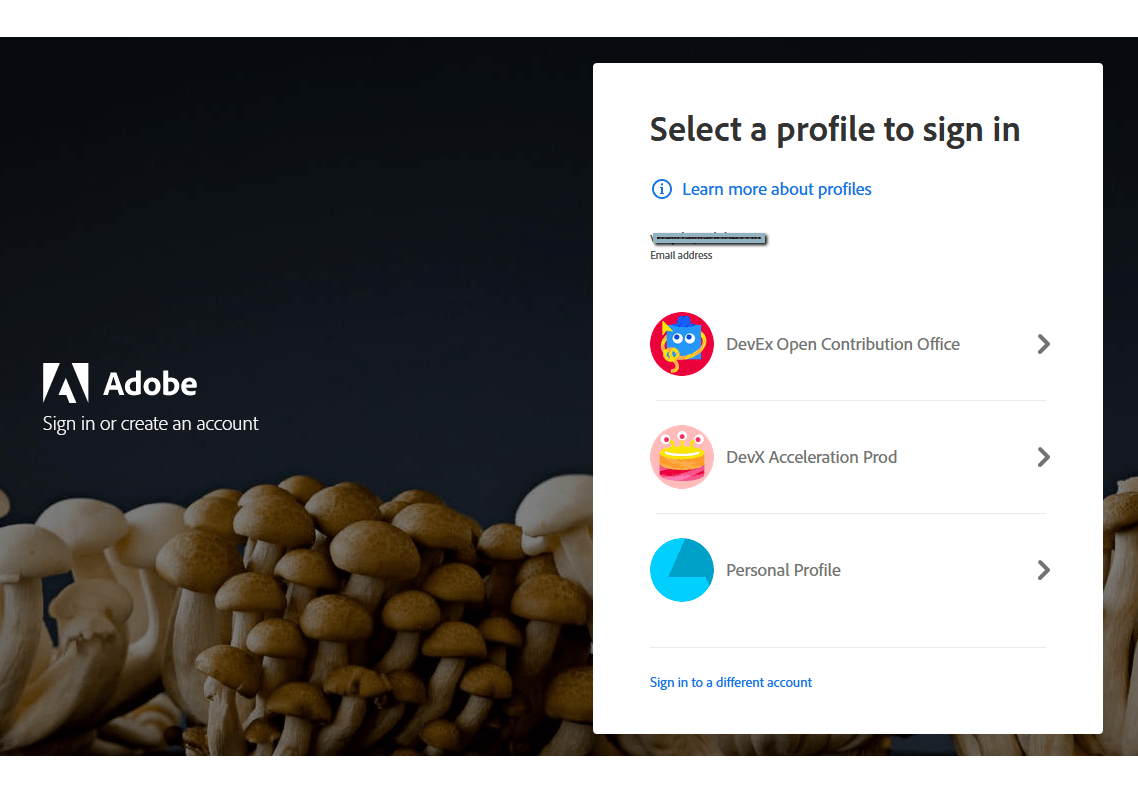
- Make sure you are in a proper organization (a switcher is in the right top corner).
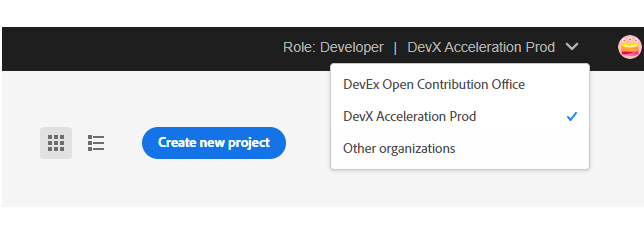
- Click "Create new project" -> "Project from template":

And choose "App Builder":
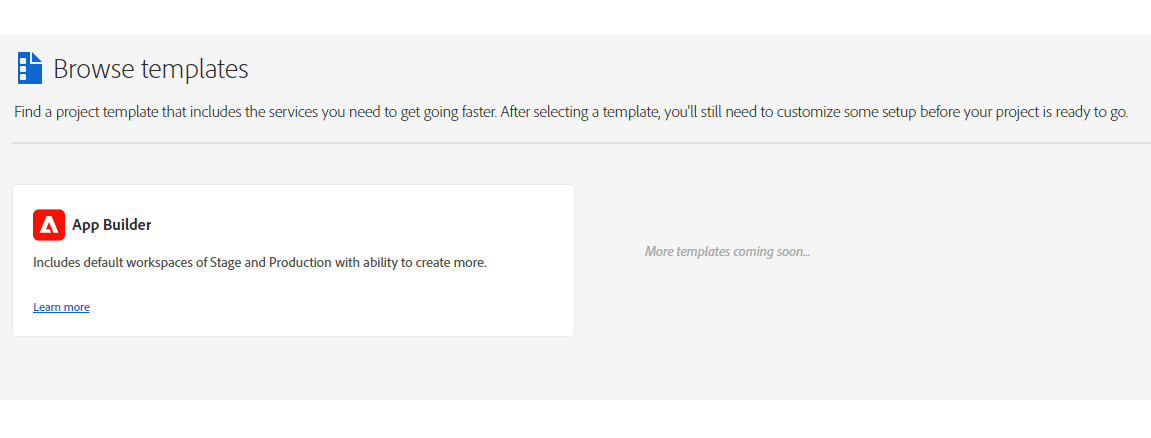
- Fill in the project data.
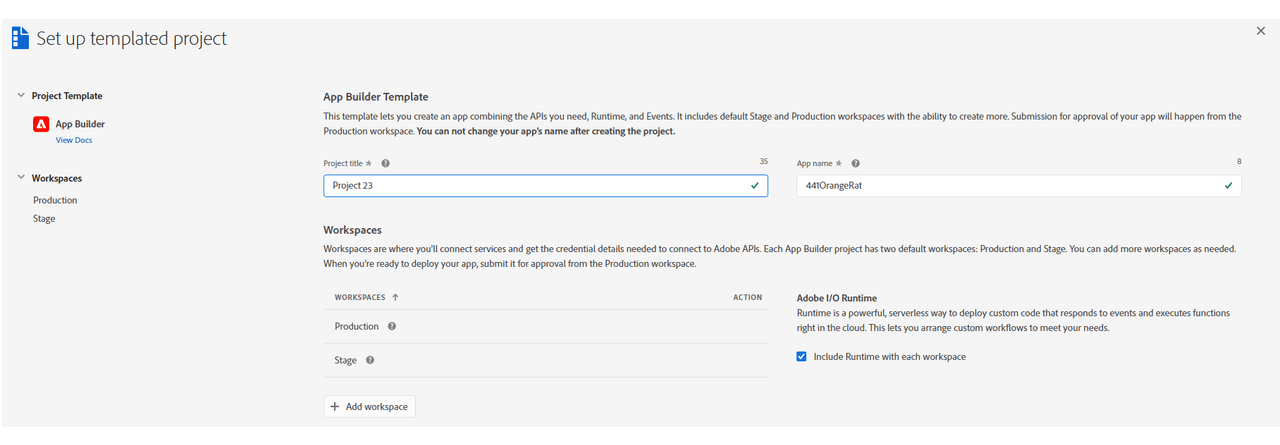
Project Titleis used to identify your project within Adobe Developer Console and in CLI.App Namewill be used as a unique identifier for your application and this value cannot be changed after project creating.
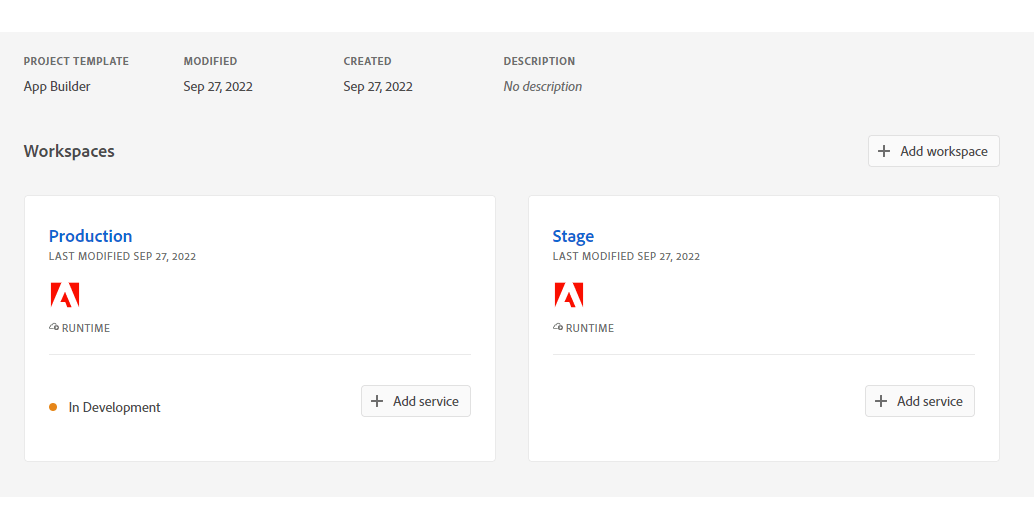
After creating, you should see a new project generated with 2 default Workspaces.
Each App Builder project has two default workspaces: Production and Stage. You can add more workspaces as needed.
The Production workspace is special, as it is used for the submission and distribution flow.
