Render 3D Object
Overview
This guide shows you how to use the Substance 3D API to render 3D objects. You'll learn how to upload assets, configure rendering parameters, and customize the output with different camera angles and materials.

Prerequisites
- If you don't already have a Substance 3D API Client ID and Access Token, learn how to retrieve them in the Authentication Guide before reading further. Securely store these credentials and never expose them in client-side or public code.
- A command line tool to transfer data, such as cURL.
Step 1 - Upload source assets
- Download the sample assets prepared for this guide:
To use these assets, create a new digital storage Space with the
/spacesendpoint and define each asset as a--formparameter in the request.Run this command to create the new Space:
Copied to your clipboardcurl --url https://s3d.adobe.io/v1/spaces \--header 'Authorization: Bearer $S3D_FF_SERVICES_ACCESS_TOKEN' \--form '.=@DamagedHelmet.glb' \--form '.=@cross_brushed_copper.sbsar'
The JSON response contains an "id", which identifies the new Space.
This ID will be the assets' source in the job definition.
Example response
Copied to your clipboard{"id": "<GENERATED_SPACE_ID>","files": [...],...}
Step 2 - Define assets sources
Create a payload.json file and define the Space with its ID (your {GENERATED_SPACE_ID}) in the sources array.
Copied to your clipboard{"sources": [{"space": {"id": "<GENERATED_SPACE_ID>"}}]}
Step 3 - Set the rendering parameters
To perform a rendering job, define the model file of the scene with the file located in the Space.
To use the DamagedHelmet.glb file, set its path in the scene.modelFile property.
Copied to your clipboard{"sources": [{"space": {"id": "<GENERATED_SPACE_ID>"}}],"scene": {"modelFile": "DamagedHelmet.glb"}}
Step 4 - Execute the API request
It's time to execute the rendering API request, using the job definition from your payload.json file.
Send a request to the v1/scenes/render-basic endpoint:
Copied to your clipboardcurl -X POST https://s3d.adobe.io/v1/scenes/render-basic \-d @payload.json \--header "Content-Type: application/json" \--header 'Authorization: Bearer $S3D_FF_SERVICES_ACCESS_TOKEN'
The response will be similar to this example, with a unique id:
Copied to your clipboard{"$schema": "https://s3d.adobe.io/schemas/RenderModelResponse.json","url": "https://s3d.adobe.io/v1/jobs/1727790895129-0",// unique job ID"id": "1727790895129-0","status": "running"}
Step 5 - Download the rendered image
After sending the API request, you'll receive a response with a url property.
Since jobs are asynchronous, their result isn't available immediately.
- The job URL must be polled to see the status.
Copied to your clipboardcurl --url https://s3d.adobe.io/v1/jobs/1727790895129-0 \--header 'Accept: application/json' \--header 'Authorization: Bearer $S3D_FF_SERVICES_ACCESS_TOKEN'
If the job succeeds, the response will contain a result property with information about the generated resources:
Copied to your clipboard{"$schema": "https://s3d.adobe.io/schemas/RenderModelResponse.json","url": "https://s3d.adobe.io/v1/jobs/1727790895129-0","id": "1727790895129-0","status": "succeeded","result": {// pre-signed URL, used to download the rendered image"renderUrl": "https://s3d.adobe.io/v1/spaces/s-b93fa62b-6ba8-4ca6-842d-898057bf5dbc/files/render0000.png?x-s3d-presigned-token=<auto_generated_token>",// output Space, containing the list of generated resource files"outputSpace": {"url": "https://s3d.adobe.io/v1/spaces/s-b93fa62b-6ba8-4ca6-842d-898057bf5dbc","id": "s-b93fa62b-6ba8-4ca6-842d-898057bf5dbc","archiveUrl": "https://s3d.adobe.io/v1/presigned-spaces/s-b93fa62b-6ba8-4ca6-842d-898057bf5dbc/zip?x-s3d-presigned-token=<auto_generated_token>","files": [{"name": "render0000.png","size": 235441,"url": "https://s3d.adobe.io/v1/spaces/s-b93fa62b-6ba8-4ca6-842d-898057bf5dbc/files/render0000.png?x-s3d-presigned-token=<auto_generated_token>"},...]}}}
Copied to your clipboard{"$schema": "https://s3d.adobe.io/schemas/RenderModelResponse.json","url": "https://s3d.adobe.io/v1/jobs/1727790895129-0","id": "1727790895129-0","status": "failed","error": "error message"}
- To download the rendered image, use the pre-signed URL included in the response (
result.renderUrl), or find the rendered image URL from the list of files in the response (result.outputSpace.files[].url).
Copied to your clipboardcurl -O --url https://s3d.adobe.io/v1/spaces/s-b93fa62b-6ba8-4ca6-842d-898057bf5dbc/files/render0000.png?x-s3d-presigned-token=<auto_generated_token>

Step 6 - Going further with optional settings
It's possible to render images by specifying only the source 3D model location, but this API also exposes optional settings to customize different aspects of the rendered image such as the model transforms, the camera parameters, overriding the default material, and more.
Let's make few changes to these optional settings below to explore the results. See the full list of settings available in the API Reference.
Render different camera angles
Modify the camera angle by setting the scene.camera field in the payload.
- To set the camera azimuth angle to 0, replace the
payload.jsoncontent with the following lines:
Copied to your clipboard{"sources": [{"space": {"id": "{GENERATED_SPACE_ID}"}}],"scene": {"modelFile": "DamagedHelmet.glb","autoFraming": {// zoom out"zoomFactor": 0.7},"camera": {"focal": 50,"transform": {"azimuthAltitude": {// custom camera azimuth"azimuth": 0,// the following values are identical to the default ones"altitude": 30,"lookAt": [0, 0, 0],"radius": 1}}}}}
- Re-execute the API request and download the rendered image.
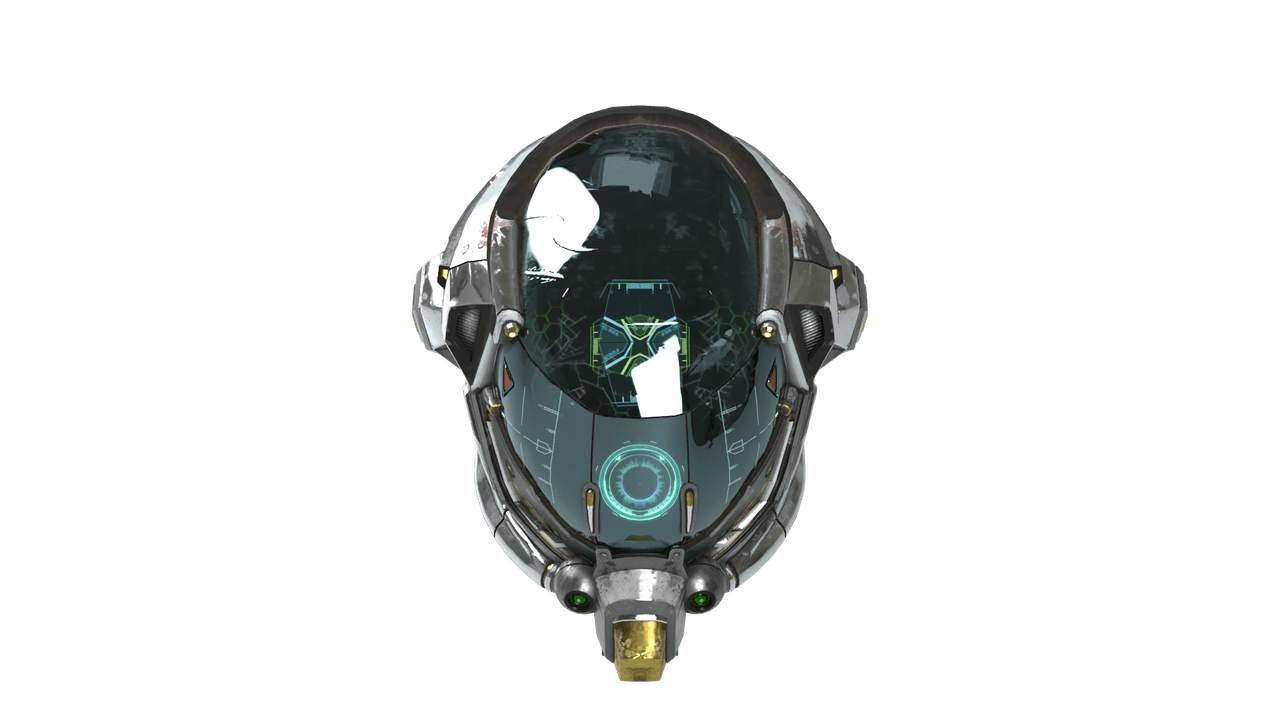
Sample result

Override materials
Render variations of the same object in different materials by using scene.materialOverrides.
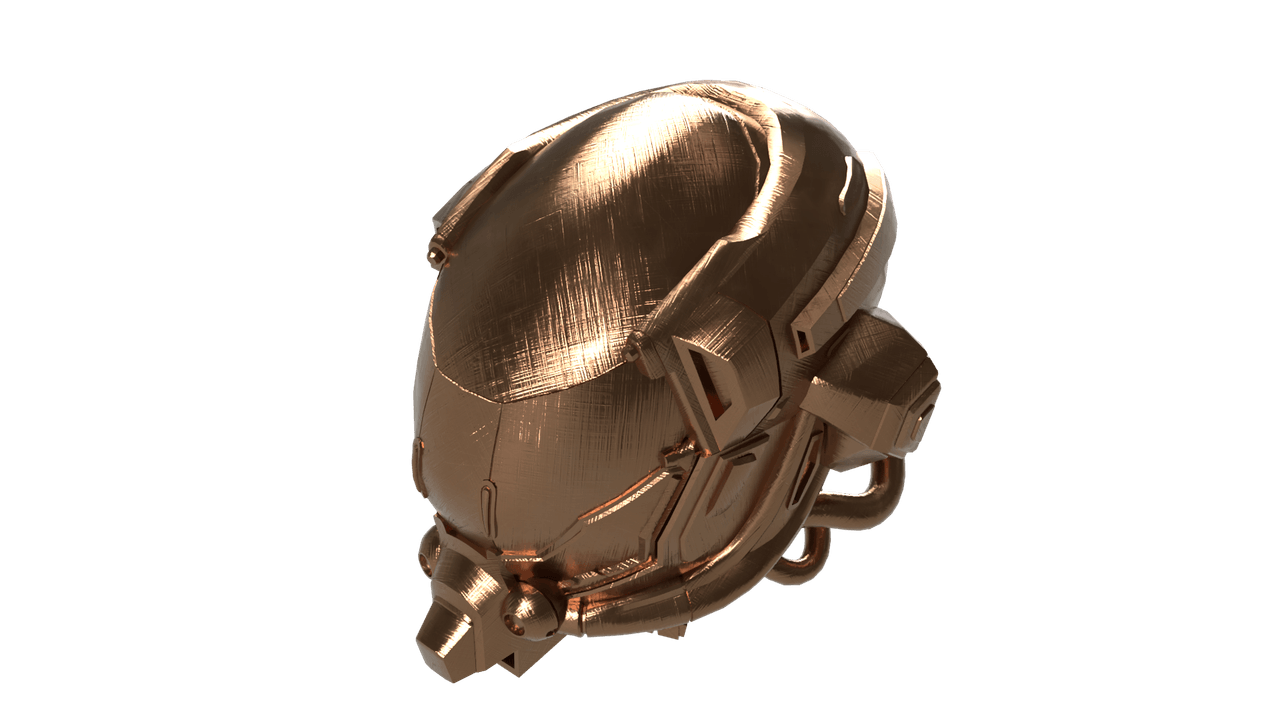
Let's override the existing model's material with one from the sample assets: cross_brushed_copper.sbsar.
- Replace the
payload.jsoncontent with the following lines:
Copied to your clipboard{"sources": [{"space": {"id": "{GENERATED_SPACE_ID}"}}],"scene": {"modelFile": "DamagedHelmet.glb","materialOverrides": [{// the name of the existing material assigned to the 3D model"materialName": "Material_MR","pbrMaterial": {// increased texture resolution"resolution": 2048,"sbsar": "cross_brushed_copper.sbsar"}}]}}
- Re-execute the API request and download the rendered image.
Cross Brushed Copper

Going further with substance materials
The cross_brushed_copper.sbsar file is a Substance 3D Material which includes pre-built variations (a.k.a. preset):
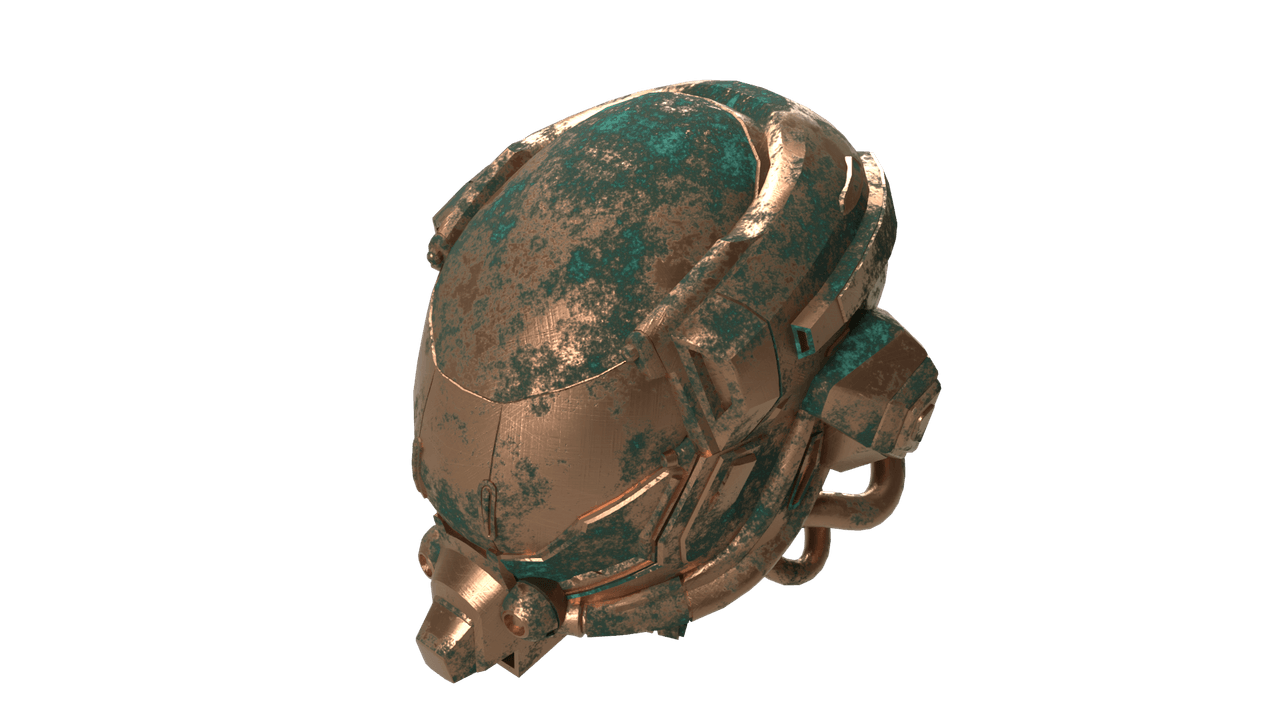
Default(selected by default if none is specified)Rust Picked Copper Cross BrushedShiny Copper Cross BrushedOxidized Copper Cross Brushed
By slightly modifying the previous job definition, you can apply these presets on the material:
Copied to your clipboard{"sources": [...],"scene": {"modelFile": "DamagedHelmet.glb","materialOverrides": [{"materialName": "Material_MR","pbrMaterial": {// select the material preset"preset": "Rust Picked Copper Cross Brushed","resolution": 2048,"sbsar": "cross_brushed_copper.sbsar"}}]}}
Oxidized Copper Cross Brushed

Deepen your understanding
Now that you completed this tutorial, visit its API Reference to explore more advanced use cases of 3D object rendering.

