Extension Manager Feature Highlights
Navigate Extensions
Extension Manager provides a centralized listing of extensions, accessible when you select a specific program and environment. This listing gives a comprehensive view of all available extensions for your organization, complete with their statuses, such as Published or Draft.

Enabling/Disabling Extensions
Extension Manager gives the ability to enable or disable extensions on a per-instance basis. This means you can easily turn extensions on or off for specific AEM instances, granting you the flexibility to adapt features as needed. The process is straightforward – just toggle a switch in the extensions view.

Access Experimental Features
Extension Manager opens the door for developers to access AEM innovations through 1st-party extensions crafted by Adobe. These extensions bear the distinct label Developed by Adobe.

Configuring Extension Parameters
Extension Manager simplifies the process of adjusting extension configurations, specifically web parameters, without the need for repetitive extension deployments. Here's how to configure extension parameters:
- Click
Gearsicon in theActioncolumn
- Click
Add variablebutton - Define the
Keyand correspondingValuefor your parameter.
- With your parameters configured, you can now access these values using the UIX SDK within your extension.
Code sample on how to use the configuration within your Extension via register method:
Copied to your clipboardfunction ExtensionRegistration() {const init = async () => {const guestConnection = await register({id: extensionId,methods: {headerMenu: {getButtons() {return [{id: `${extensionId}-button`,label: 'Click me!',icon: 'OpenIn',onClick() {const modalURL = `/index.html#/${extensionId}-modal`;console.log("ExtensionRegistration: register => guestConnection.configuration", guestConnection.configuration);guestConnection.host.modal.showUrl({title: "UI Extension Demo",url: modalURL,});},},];},},},});};init().catch(console.error);
Code sample for attach method:
Copied to your clipboardexport default function ModalHeaderMenuButtonModal () {const [guestConnection, setGuestConnection] = useState()const [count, setCount] = useState(0)useEffect(() => {(async () => {const guestConnection = await attach({ id: extensionId })console.log("Modal: attach => guestConnection.configuration:", guestConnection.configuration);setGuestConnection(guestConnection)})()}, [])const onCloseHandler = () => {guestConnection.host.modal.close()}return (<Provider theme={defaultTheme} colorScheme='light'><Content width="100%"><Text>Your modal content goes here</Text><View marginTop="size-325"><Heading level={3}>Extension Configuration:</Heading><Well>{guestConnection && JSON.stringify(guestConnection.configuration)}</Well><Heading level={3}>Shared Context available for your UI extension:</Heading>{guestConnection &&<ul><li><Heading level={4}>AEM Host:</Heading><Well>{JSON.stringify(guestConnection.sharedContext.get('aemHost'), null, 4)}</Well></li><li><Heading level={4}>Authentication:</Heading><Well>{JSON.stringify(guestConnection.sharedContext.get('auth'), null, 4)}</Well></li><li><Heading level={4}>Theme:</Heading><Well>{JSON.stringify(guestConnection.sharedContext.get('theme'), null, 4)}</Well></li><li><Heading level={4}>Locale:</Heading><Well>{JSON.stringify(guestConnection.sharedContext.get('locale'), null, 4)}</Well></li></ul>}</View><Flex width="100%" justifyContent="end" alignItems="center" marginTop="size-400"><ButtonGroup align="end"><Button variant="primary" onClick={onCloseHandler}>Close</Button></ButtonGroup></Flex></Content></Provider>)}
This process allows you to fine-tune your extension settings without the hassle of repeated deployments, putting control and customization in your hands.
Extension Preview and Sharing
Extension Manager provides a safe playground to preview extensions before enabling them for the entire environment and the ability to easily share these previews.
Preview Extensions
To preview extensions without installing them, simply click the preview icon found in the Action column. This action will open the Content Fragment Console, allowing you to explore the extension within the selected environment.

Share with Teammates
You can easily share these previews with your team by selecting Copy shareable link from the Action column.

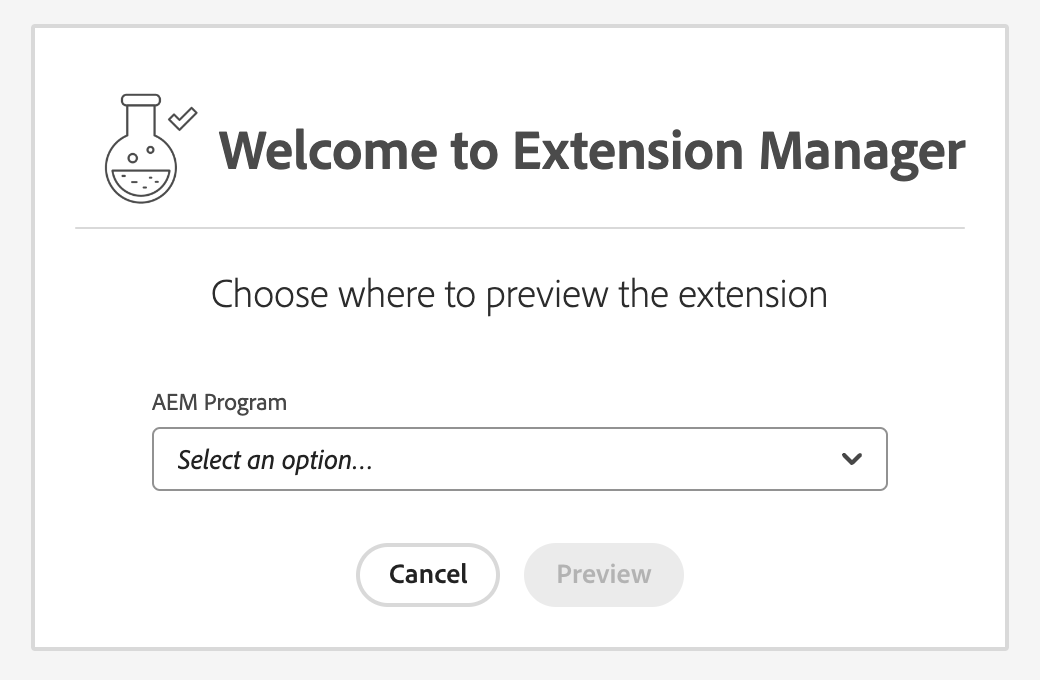
When your teammates open the link, they'll be prompted to choose a program and environment for previewing the selected extension.

This collaborative feature ensures that your team can collectively evaluate and experiment with extensions before making them fully operational.
BYO (Bring Your Own) Extensions
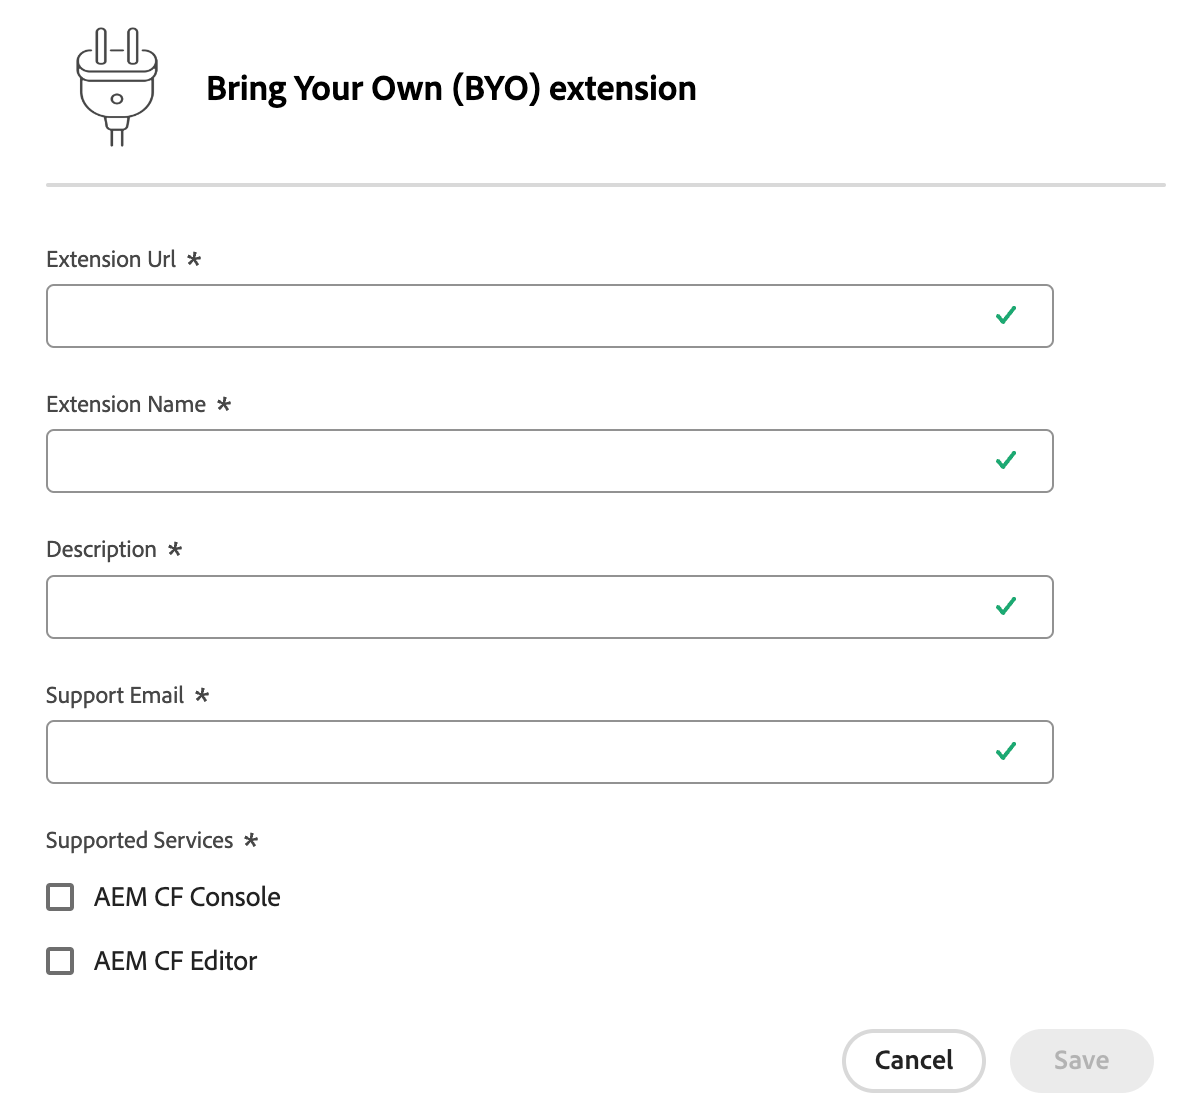
With Extension Manager, you can register your extensions into the system and start using them, regardless of where they were initially deployed. Here's how to bring your own extensions into Extension Manager:
- Open Extension Manager home page. From there, click on the
Bring Your Own Extensionoption. - Fill out the required fields, with a particular focus on providing the
Extension URL.
An important note to keep in mind: Your extension can be hosted anywhere, as long as it utilizes the UIX SDK Guest library.
This flexibility ensures that you can seamlessly incorporate your own extensions into the AEM environment, enhancing your experience with your unique tools and features.

