Publish a Connector as a public listing
A public listing submits your connector for Adobe review. After approval, your connector becomes available as an option in the Translate service dropdown for Adobe Express users signed in with an enterprise account in the enterprises where it is enabled. Use a public listing when you want broad distribution beyond your enterprise organization, including as a commercial offering. For other distribution paths, see Submit your Connector.
Before you begin
- Account required: You can access the submission UI using either (1) an enterprise Adobe account with an Administrator or Developer role in the Adobe Admin Console, or (2) a personal Adobe account that has been approved through the Connector interest form. Enterprise accounts without this role are blocked from all submission paths before reaching the submission UI.
- Public listing approval: Public listing is available to enterprise and personal-account developers who have been approved through the Connector interest form. If it isn't enabled for your account yet, choosing a public listing opens a Request access to public listing dialog that links to the same interest form. If you already submitted the form, no further action is needed while your request is under review.
- Test first: Configure and validate your connector in the Connector Playground before submitting.
- Plan for review: Public listing has two separate approval stages. First, Adobe approves your access to public listing through the Connector interest form, as described above. Once you're approved, you can create and submit a public listing, which starts the second stage: Adobe reviews the connector itself, covering the connector, listing copy, screenshots, AI usage disclosure, monetization details, and publisher profile. What else reviewers need depends on your authentication type: Secure API Key connectors need an Adobe organization where your key is registered, plus test credentials to sign in to Express with that organization if needed. OAuth 2.0 PKCE connectors need test credentials for your own service to enter in the OAuth modal; the organization the reviewer signs in with doesn't matter. Notes to reviewer is a required field for every public listing, so you'll provide these test details there. See Get your connector ready for review for the steps.
- Read the monetization guidelines: Before filling in any payment fields, review the connector monetization guidelines.
How a public listing differs from an internal listing
A public listing builds on the same submission workflow as an internal listing. The differences are:
- Adobe runs a full review (5 to 10 days) instead of automated validation only.
- AI usage disclosure is required for any connector that uses generative AI.
- Monetization details are required, even for free connectors.
- The Listing details section adds Support email address and End User License Agreement (EULA) fields beyond what an internal listing collects.
- After approval, your connector becomes available to Adobe Express users in the enterprises where it is enabled. Users in those enterprises see it as an option in the Translate service dropdown.
Get your connector ready for review
Complete these steps before you open the public listing submission form. What you need to gather depends on your connector's authentication type:
- Secure API Key connectors: Configure your Global API Key from your connector's Settings tab; this is required before the review team can use your connector at all. Separately, if the review team needs to sign in to Express to test your connector, create test credentials in an organization where you plan to enable visibility (see Enable your connector for specific enterprises).
- OAuth 2.0 PKCE connectors: Prepare a set of test credentials for your own service that the review team can enter in the OAuth modal when they connect. The Adobe organization the reviewer signs in with doesn't matter for OAuth connectors.
Keep this information on hand. Notes to reviewer is required, and you'll add it in Step 8: Submit for review.
data-slots=heading, text
data-variant=warning
Submission steps
data-slots=text
data-variant=info
Access Your integrations first
Follow Access your integrations to open Your integrations, enable Add-on development, create or select your connector integration, and note your Connector URL. Then return here for the public-listing-specific steps below.
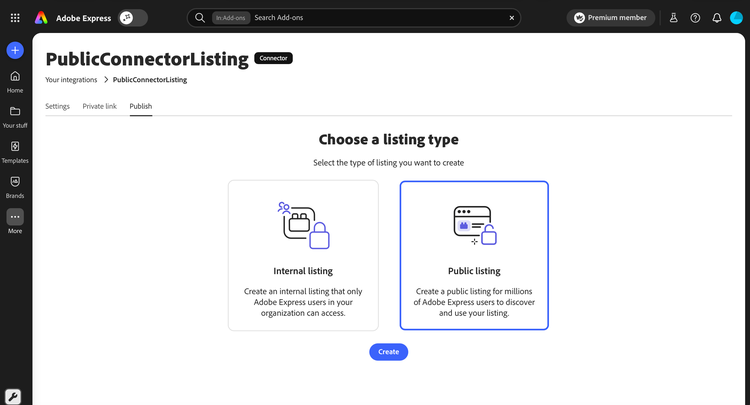
Step 1: Choose Public listing
- Open the Publish tab.
- Select the Public listing card.
- Click Create.
Step 2: Complete Listing details
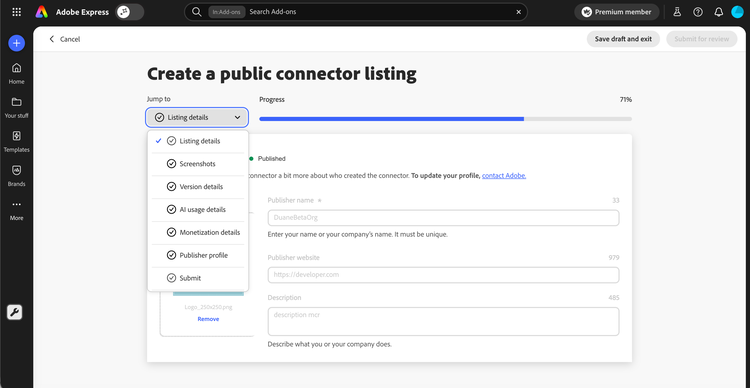
The Create a public connector listing form opens. Use the Jump to dropdown to navigate between sections; the progress bar fills as you complete required fields.
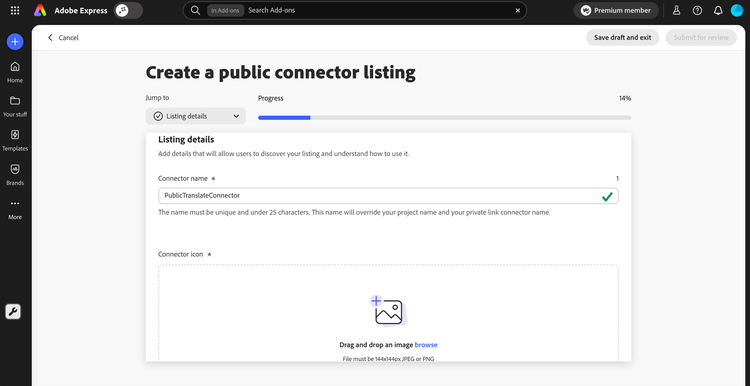
Fill in the Listing details fields. Public listings collect the same Listing details fields as an internal listing plus Support email address and End User License Agreement (EULA). See the Listing details field reference for every field, including the public-only additions.
Step 3: Upload screenshots
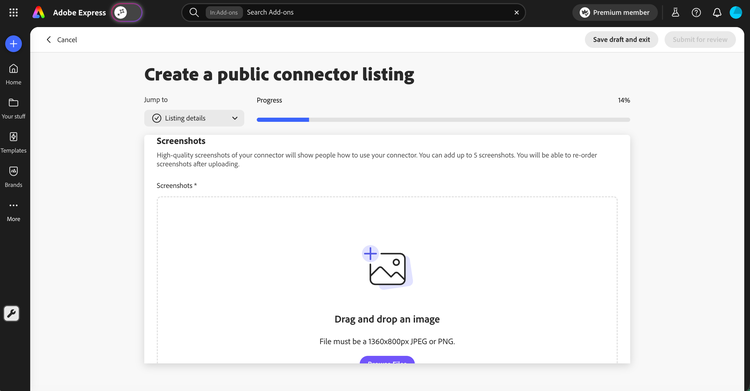
Upload 1 to 5 screenshots that show the connector in use inside Adobe Express. The first screenshot appears as the hero image on the connector's listing detail page, so put your strongest screen first.
Step 4: Complete Version details
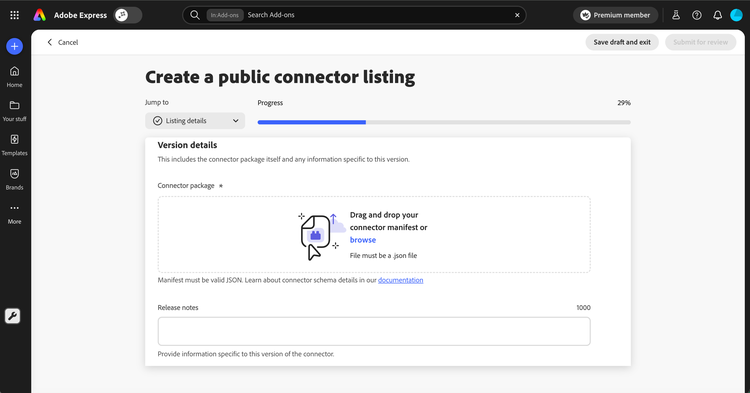
Upload your connector manifest as a .json file, select every language your connector's UI supports, and add Release notes for this version. The Languages supported list is the languages your connector's UI supports, not the languages the translate service offers. English (US) is included by default and cannot be removed.
Step 5: Disclose AI usage
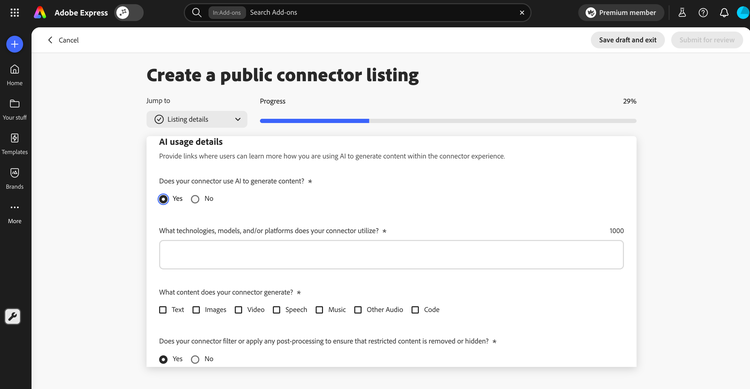
If your connector uses generative AI, you must disclose how. Answer each question in the AI usage section truthfully. Reviewers use this information to determine whether your connector meets Adobe's AI policies and to surface AI usage to end users.
If your connector does not use generative AI, you can answer No to the entry question and skip the rest of the section.
Step 6: Choose Monetization details
Before you fill in this section, read the connector monetization guidelines. The guidelines cover supported models, payment options, and the patterns Adobe rejects (for example, using "Premium" terminology or attempting to access Adobe Express Premium content from your connector).
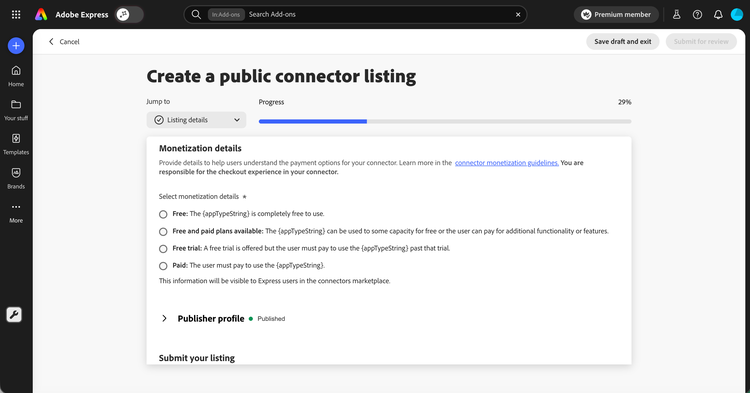
Select a monetization model and, if applicable, the payment options your connector supports.
- Select one Monetization model: Free, Free and paid plans available, Free trial, or Paid.
- If your model is not Free, select one or more Payment options: One-time payment, Recurring subscription, or Micro-transactions.
- Optionally, fill in Additional details (up to 250 characters) to describe terms like "7-day free trial" or "$9.99/month".
data-slots=text
data-variant=info
Step 7: Confirm your Publisher profile and Trader details
Both sections use the same fields as an internal listing:
- For Publisher profile field requirements, see the Publisher profile field reference.
- For Trader details field requirements and EU compliance behavior, see the Trader details field reference.
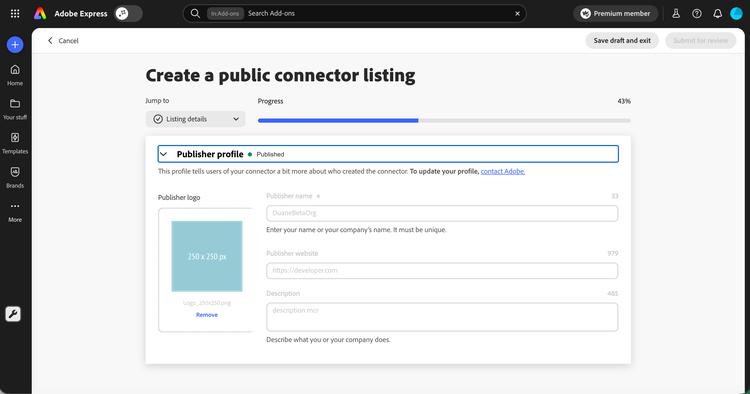
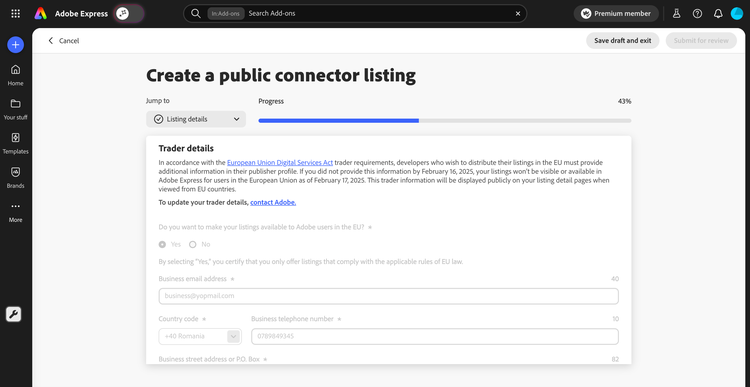
Both sections are locked after submission. To update them later, contact the Adobe Express Translate Connectors team.
Step 8: Submit for review
-
Review your entries. The Jump to dropdown shows checkmarks beside complete sections and the progress bar should read 100%.
-
Add Notes to reviewer with the information the review team needs to sign in and validate your connector. What to include depends on your authentication type (see Get your connector ready for review):
- Secure API Key: The Express organization to use for testing (organization name or ID; either works), and test credentials to sign in to Express using that organization, if needed.
- OAuth 2.0 PKCE: Test credentials for your own service to enter in the OAuth modal. The organization the reviewer signs in with doesn't matter.
- Any additional context, such as coupon codes needed to exercise paid features.
-
Click Submit for review, or Save draft and exit to finish later.
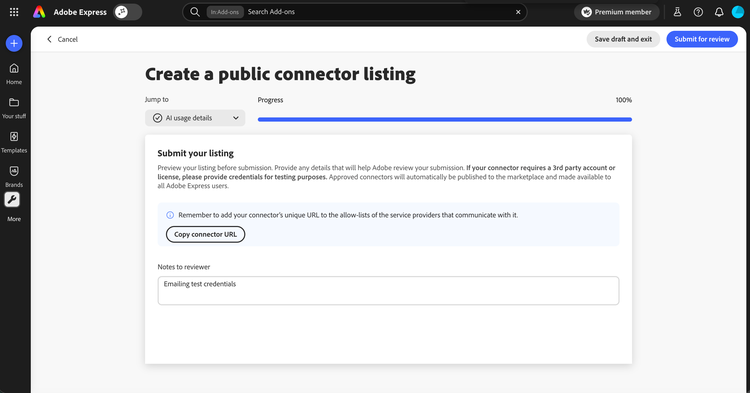
The Submit for review button is enabled only when all required fields are valid.
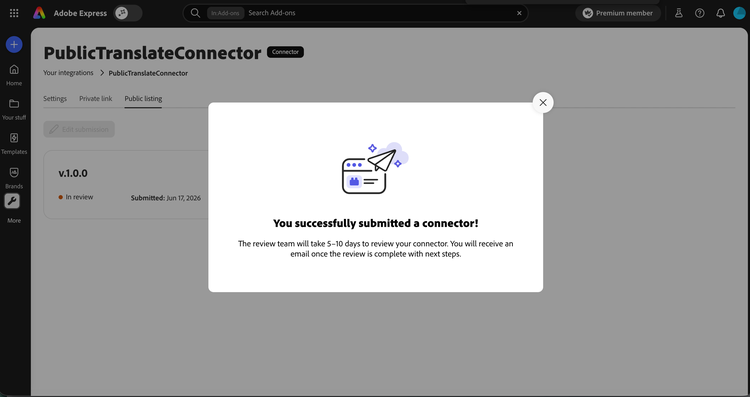
After you click Submit for review, a confirmation dialog appears. The review team typically takes 5 to 10 days to review your connector. You receive an email when the review is complete.
Prepare your submission
Gather your metadata, assets, and manifest before you open the submission form. Public listings collect the full set of fields, including the public-only Support email address, End User License Agreement (EULA), AI usage disclosure, and monetization details. For field-by-field requirements, character limits, and asset formats, use the consolidated Listing field reference, including:
- Listing details
- Version details
- Publisher profile
- Trader details
- AI usage disclosure
- Monetization details
- Asset quick reference
Review the connector monetization guidelines before you fill in the monetization details.
What Adobe reviews
Adobe reviews public connector listings before they're enabled for users. The review covers:
If a check fails, reviewers contact you through the email on your publisher profile. Drafts you saved earlier remain intact while you correct and resubmit.
After Adobe approves your listing
Approval means your connector passed review. It is not yet visible to users until Adobe turns on visibility for the organizations you designate.
Enable your connector for specific enterprises
Email the Adobe Express Translate Connectors team at express-connectors-support@adobe.com with your connector ID and the organization ID(s) or name(s) that should have access. Either identifier works: Adobe can resolve an organization ID from its name, or the reverse. Configuring your Global API Key (see Register your Secure API Key with Adobe) does not grant visibility on its own.
To add organizations beyond the ones you originally requested, use the same email address with your connector ID and the additional organization ID(s) or name(s).
After Adobe enables the connector, it appears as an option in the Translate service dropdown for Adobe Express users in those enterprises.
Manage your published connector
- To ship a new version, open the listing under Your integrations, upload the new
manifest.jsonfile under Version details, and resubmit. Updates go through Adobe review again. - Your publisher profile and trader details are locked. To update them, contact the Adobe Express Translate Connectors team at express-connectors-support@adobe.com.
data-slots=text
data-variant=info
Troubleshoot common issues
Public-listing-specific issues are listed below. For shared issues (manifest schema errors, endpoint check failures, EU trader visibility), see the consolidated Troubleshoot common issues table.