Publish and Manage the UI Extensions
After you've completed developing and testing your application, you're ready to deploy to production and publish it.
Deploy on Production (CLI)
The process of deploying to Production workspace is the same as for deploying to Stage and other, but first you need to ensure that your local environment is targeting right workspace.
Type this command in the project folder:
Copied to your clipboard$ aio app use -w ProductionYou are currently in:1. Org: Sites Internal2. Project: 562TurquoiseShrimp3. Workspace: Stage? The file aem-headless-ui-ext-example/.env already exists: Merge? The file aem-headless-ui-ext-examples/.aio already exists: Overwrite✔ Successfully imported configuration for:1. Org: Sites Internal2. Project: 562TurquoiseShrimp3. Workspace: Production.
Note:
We chose the Merge option for the .env file so that we don't lose our environment variables.
After workgroup switching, we can make building and deploying with the command:
Copied to your clipboard$ aio app deploy√ Built 3 action(s) for 'aem/cf-console-admin/1'√ Building web assets for 'aem/cf-console-admin/1'√ Deployed 3 action(s) for 'aem/cf-console-admin/1'√ Deploying web assets for 'aem/cf-console-admin/1'Your deployed actions:web actions:-> https://245265-562turquoiseshrimp.adobeio-static.net/api/v1/web/aem-headless-ui-ext-examples/get-language-copies-> https://245265-562turquoiseshrimp.adobeio-static.net/api/v1/web/aem-headless-ui-ext-examples/quick-publish-language-copies-> https://245265-562turquoiseshrimp.adobeio-static.net/api/v1/web/aem-headless-ui-ext-examples/unpublish-language-copiesTo view your deployed application:-> https://245265-562turquoiseshrimp.adobeio-static.net/index.htmlTo view your deployed application in the Experience Cloud shell:-> https://experience.adobe.com/?devMode=true#/custom-apps/?localDevUrl=https://245265-562turquoiseshrimp.adobeio-static.net/index.htmlNew Extension Point(s) in Workspace 'Production': 'aem/cf-console-admin/1'Successful deployment 🏄
You can also undeploy your app with:
Copied to your clipboardaio app undeploy
To learn more about deployment, please refer to Deploying the Application and Deployment Overview.
Create approval request (Adobe Developer Console)
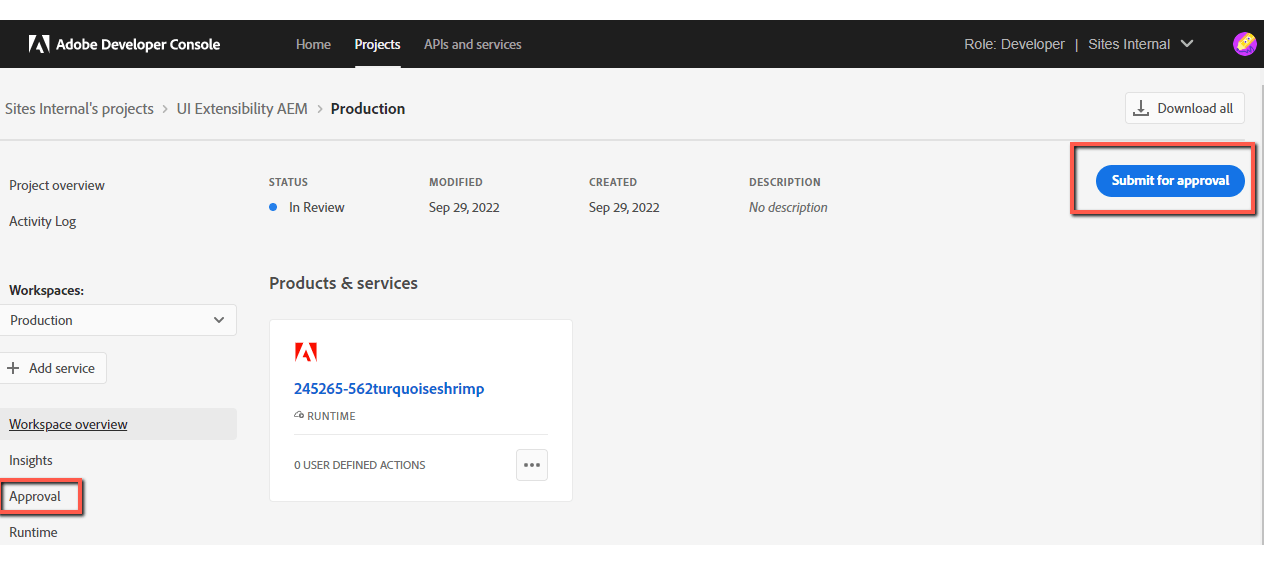
To begin the approval process, navigate in Adobe Developer Console to the Production workspace and select Submit for approval in the top-right corner of the screen or select Approval in the left navigation.
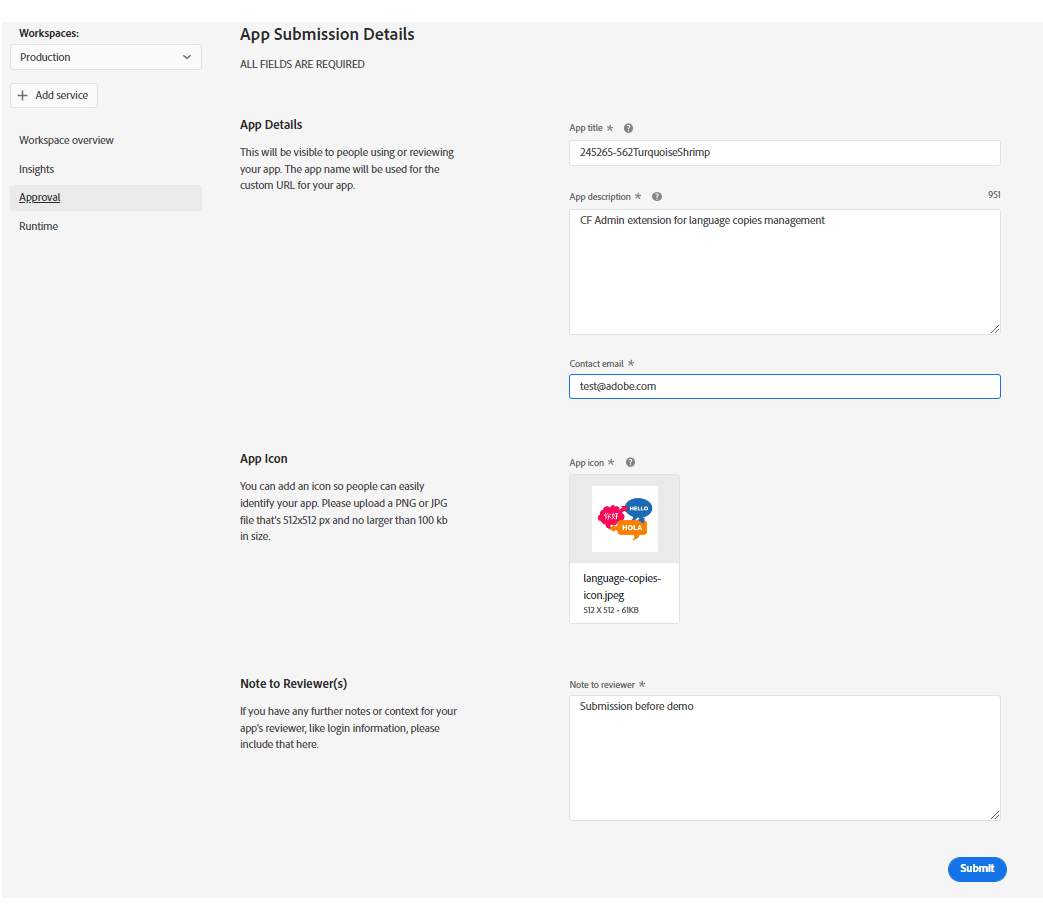
The next step is to fill out the App Submission Details form.
This information will be visible to people using your app and administrators viewing your app.
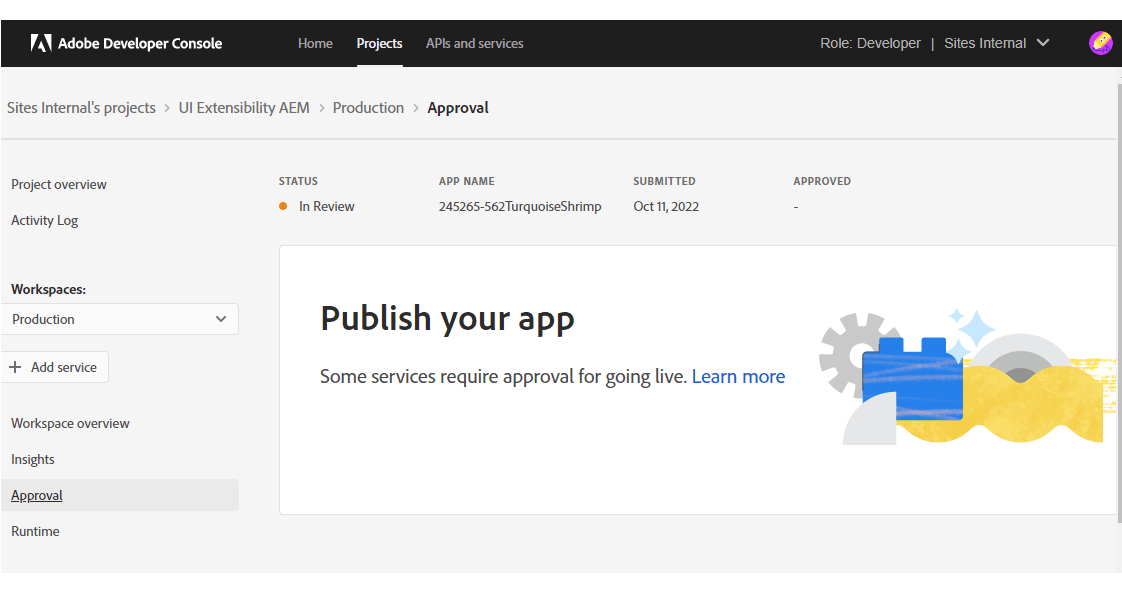
After submitting the form You will be returned to the Approval screen, where the Status of your application should now be In Review.
Once reviewed by your organization's administrator, your app will either be approved and published or rejected.
Administrator review (MyExchange)
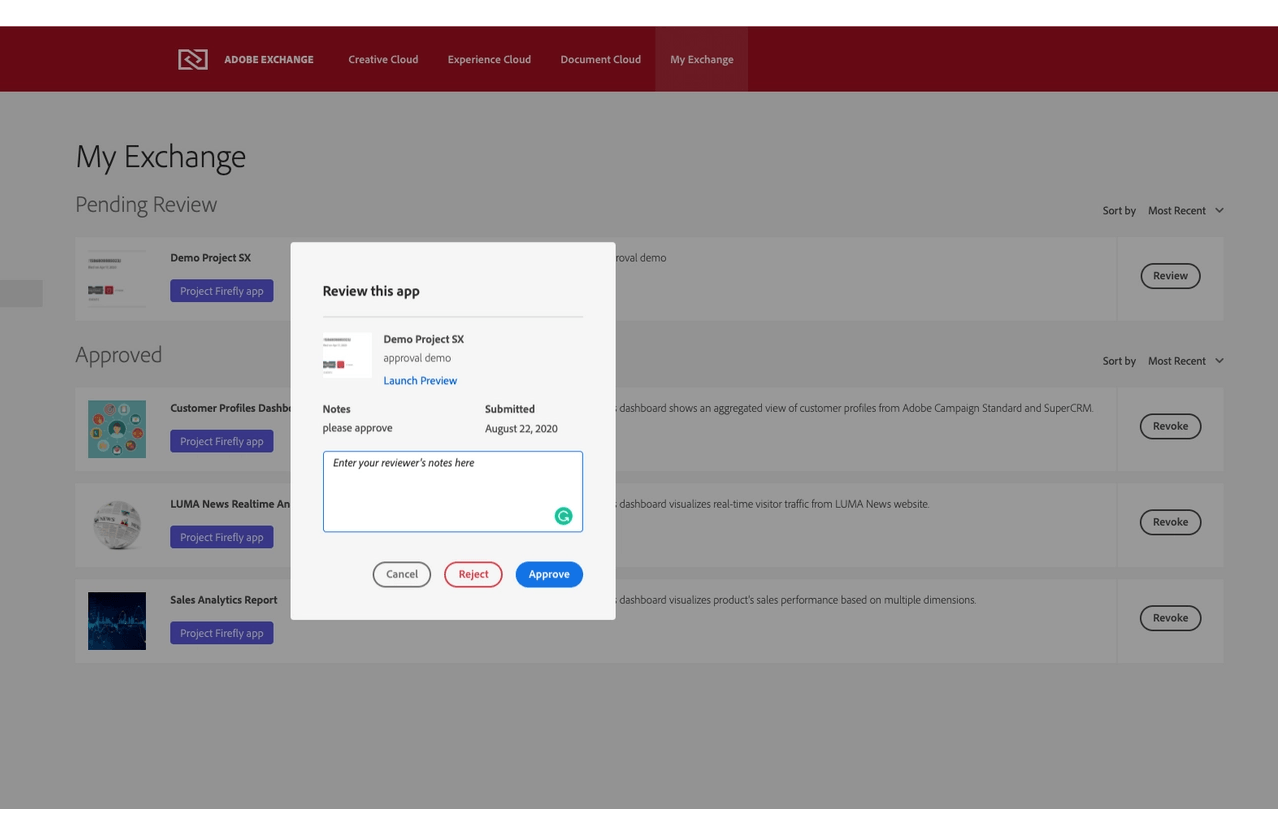
Once the application is submitted for the approval, organization's administrator will see the app in
Copied to your clipboardMy Exchange -> Experience Cloud Apps -> Pending Review
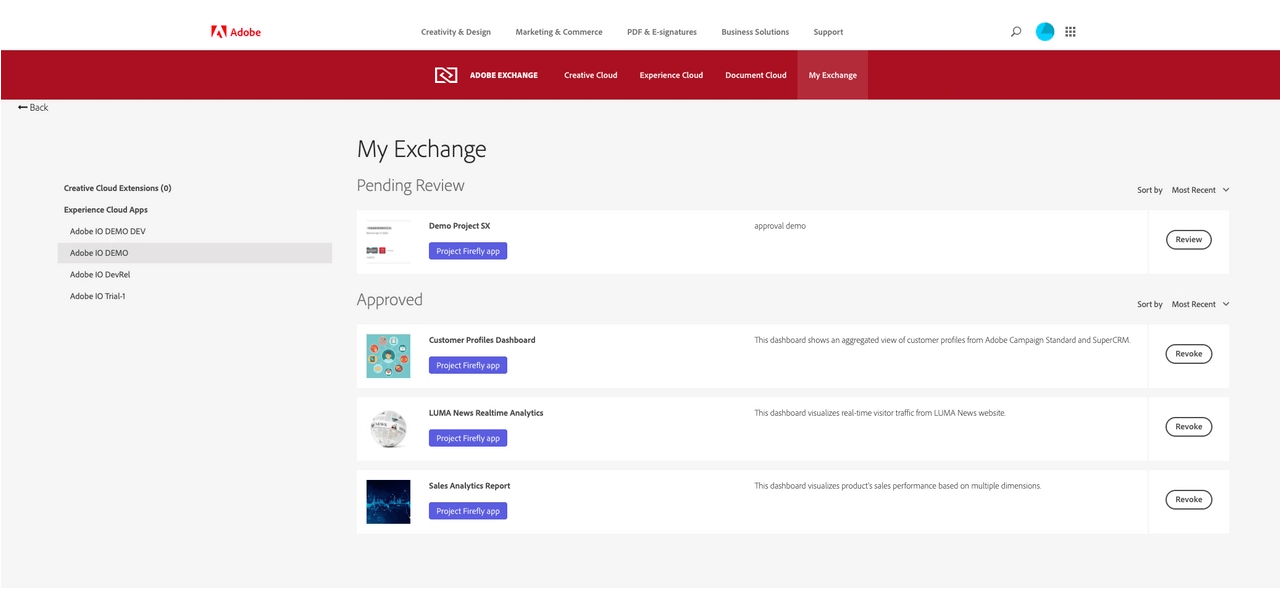
The reviewer could review this app, either approve it or reject it.
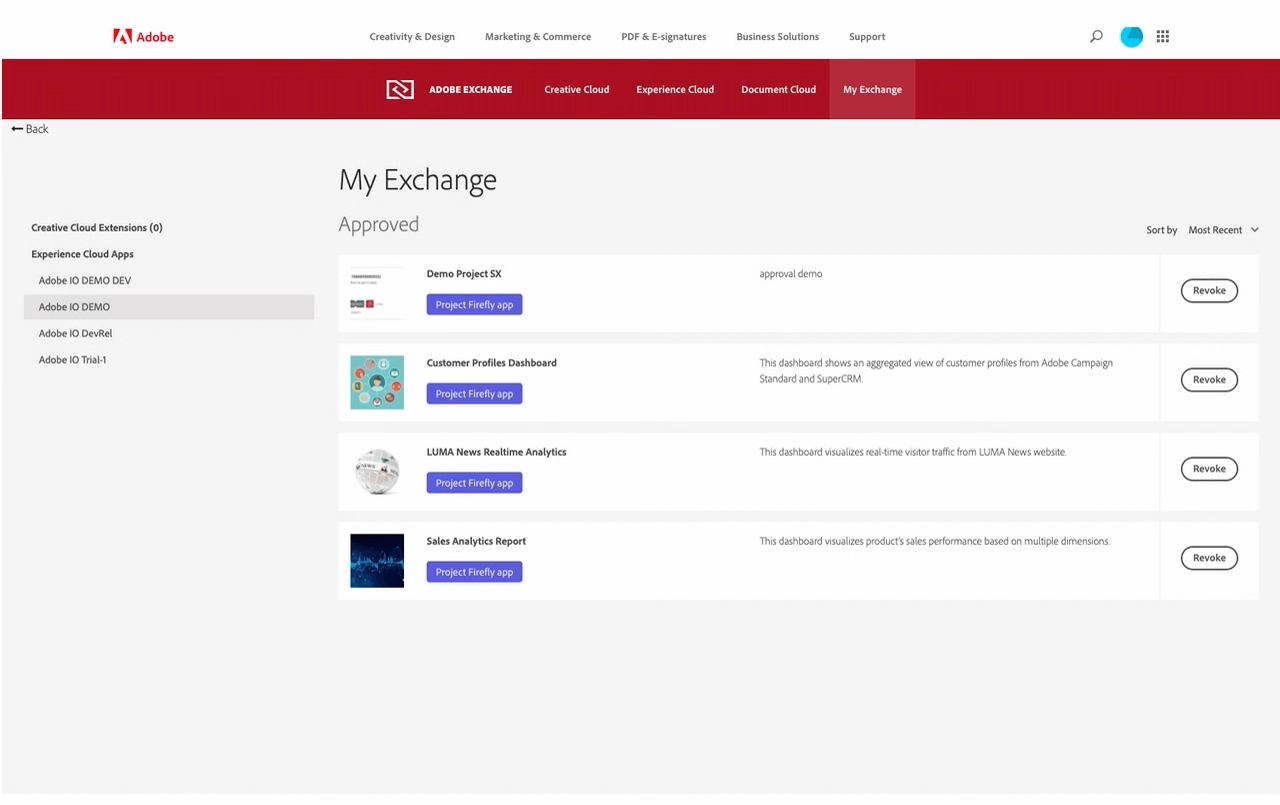
Once an app is approved, administrator will see it under Approved.
The reviewer may revoke this application to unpublish it. The application owner can resubmit the application for review.
Once an application is published, you will not be able to re-deploy it to
Production. To do this, you will need to revoke and create a new approval request.
Check your published app at Experience Cloud
After the approval, your app will be available at Adobe Experience Cloud in App Builder Apps section.
Also, data about your extension will be added to Adobe App Registry and will be reachable for Adobe Products.
This means, that the new functionality will be available, for example, in the AEM admin panel for your organization.

Enabling extension only on specific AEM environments
At the moment any approved and published extension will be available on all AEM programs and environments within organisation.
You can modify your extension to initialize itself only for specific AEM programs and/or environments by checking repo query parameter in the extension registration component.
Copied to your clipboard// ExtensionRegistration componentfunction ExtensionRegistration() {const search = new URLSearchParams(window.location.search);if (search.get('repo') != '<CURTOMER_AEM_HOST>') {return; // skip extension registration if repo does not match desired one}const init = async () => {const apis = await register({id: extensionId,methods: {// Configure your Action Bar button here...
This code snippet demonstrates how to retrieve repo parameter and prevent extension registration if it does not match desired value.


