Step-by-step AEM Assets View Extension Development
The document helps you understand how to set up local environment and start developing your first UI Extension.
UI Extensibility is supported in Assets Ultimate only.
To get access to Assets View UI extensibility, create and submit an Adobe Customer Support case. You can provide documentation feedback by clicking "Log an issue".
About application
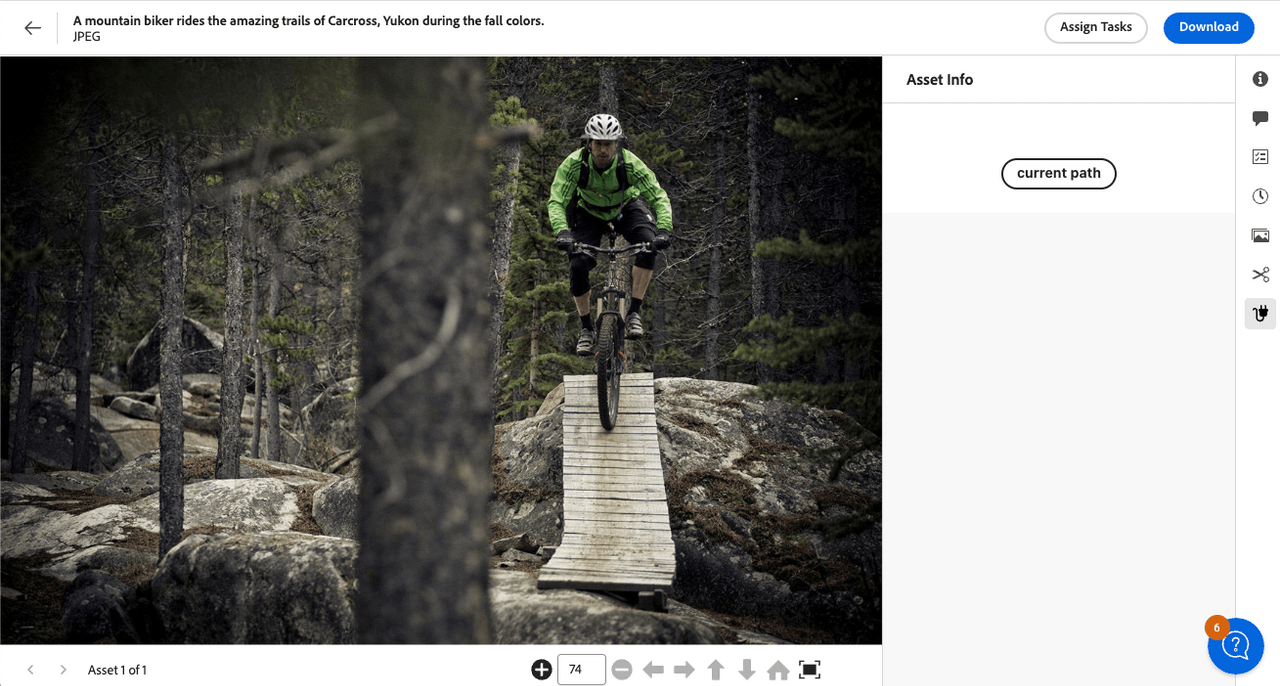
This example application will use the Details View extension point. It will render a custom icon in the side panel rail only if the selected asset has the "jpeg" extension. When the user clicks on the icon, the extension will display a custom panel with a button. Clicking the button will display a toast message with the asset's path.
More information about AEM Assets View extension points can be found at AEM Assets View Extension Points.
Create a project in Adobe Developer Console
UI Extensions, as with any App Builder application, are represented as projects in Adobe Developer Console.
If you don't have access to the Adobe Developer Console, refer to the How to Get Access guide for instructions.
To begin, we need to create a new Project which will supply us with the configuration and resources.
- Sign in to Adobe Developer Console with your Adobe ID.
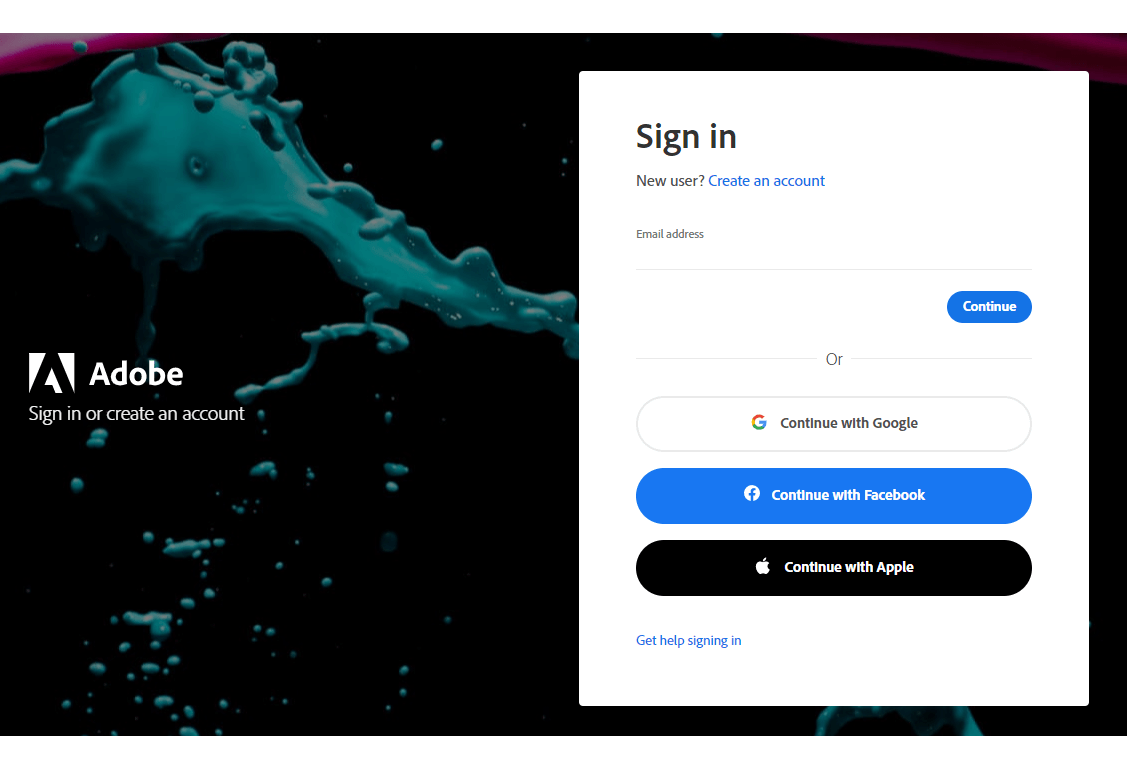
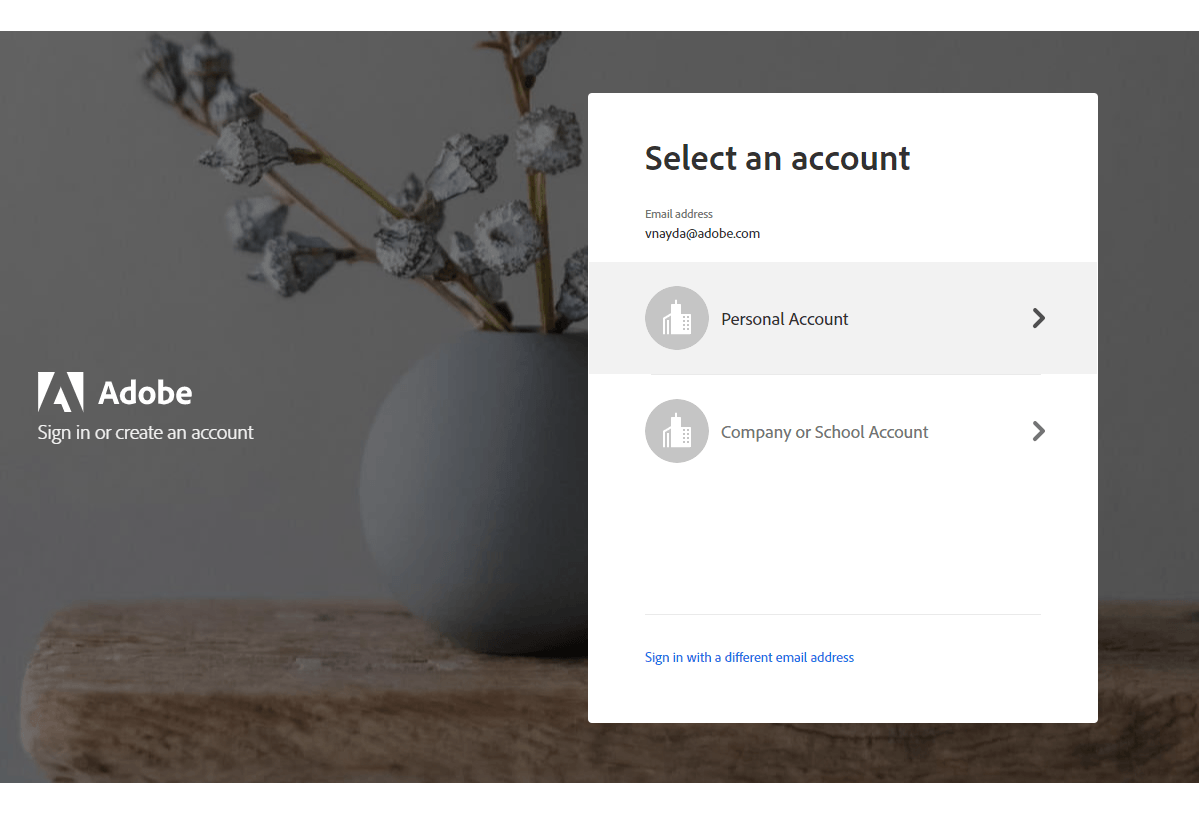
- Choose your account.
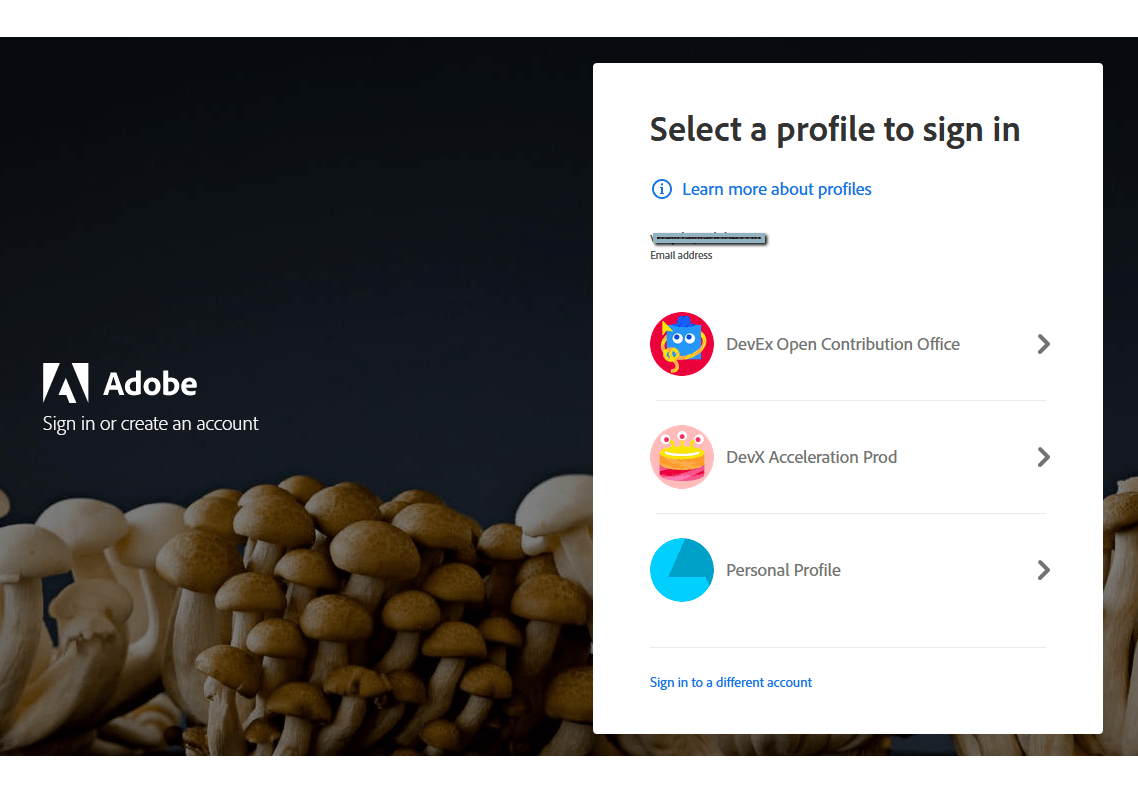
- Choose your profile or organization.
- Make sure you are in a proper organization (a switcher is in the right top corner).
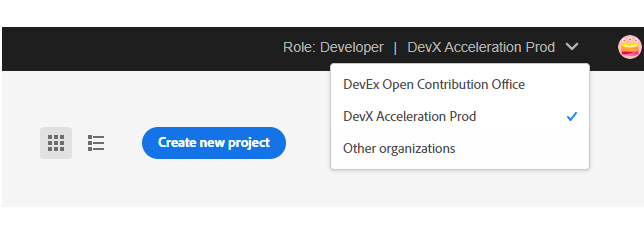
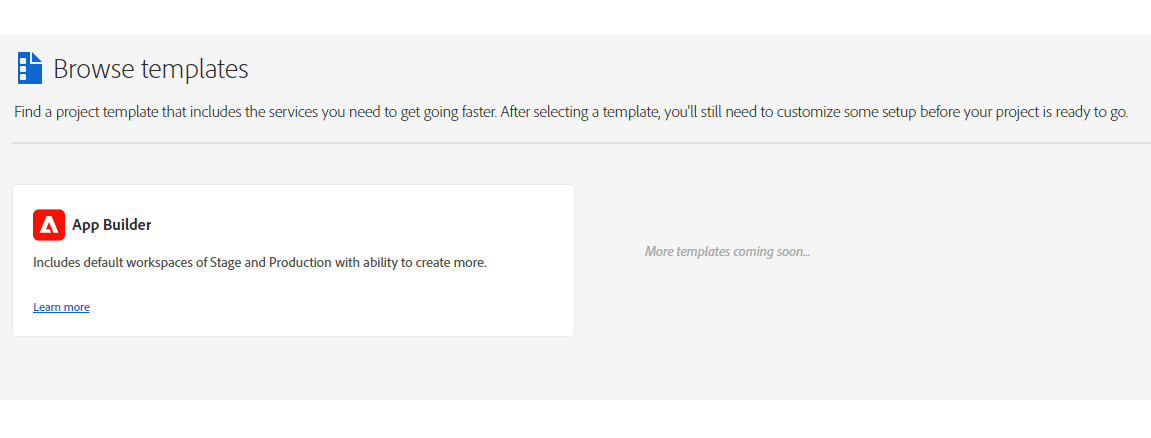
- Click "Create new project" -> "Project from template":

And choose "App Builder":
- Fill in the project data.
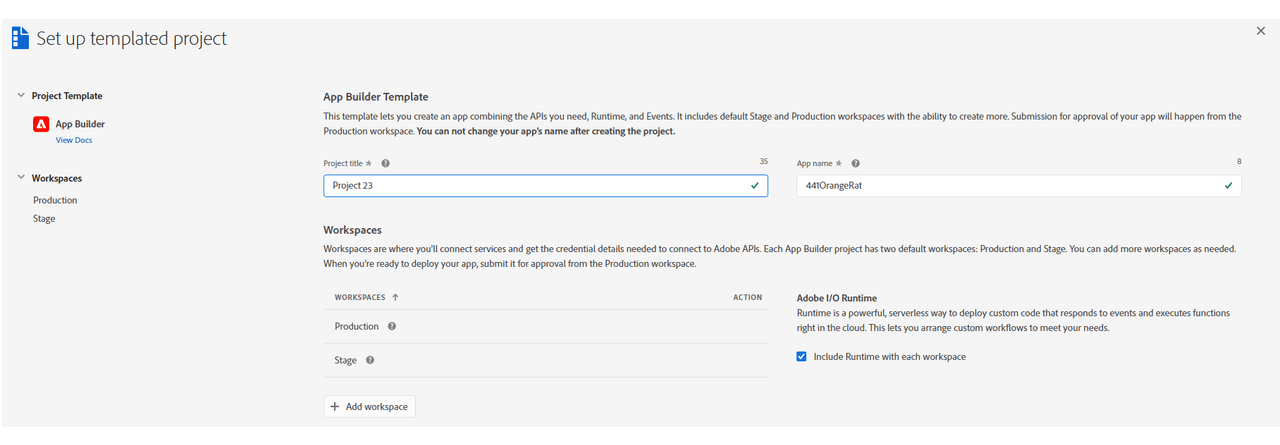
Project Titleis used to identify your project within Adobe Developer Console and in CLI.App Namewill be used as a unique identifier for your application and this value cannot be changed after project creating.
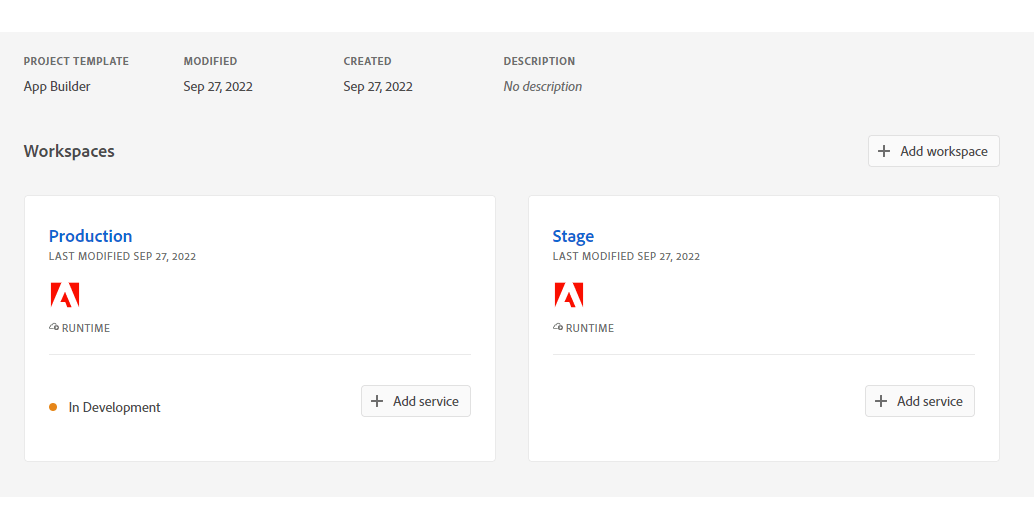
After creating, you should see a new project generated with 2 default Workspaces.
Each App Builder project has two default workspaces: Production and Stage. You can add more workspaces as needed.
The Production workspace is special, as it is used for the submission and distribution flow.
Setting up local environment
- Node.js + npm (package manager). Make sure you are using the latest stable version of
Node.jsandnpm.
Copied to your clipboard$ node -vv20.9.0
Copied to your clipboard$ npm -v10.1.0
These are the current versions at the moment of creating the documentation. Make sure you are using the latest versions supported by Adobe I/O when you create the application.
If you already have Adobe I/O CLI on your local, please ensure you use the latest version of the library. You can check the version through:
Copied to your clipboardaio -v
and compare it with
Copied to your clipboardnpm show @adobe/aio-cli
If your version is outdated, update your Adobe I/O CLI by running
Copied to your clipboardnpm install -g @adobe/aio-cli
More details are described in Local environment set up.
Initialize your extension using the AIO CLI and generate a base structure from the template
First, we need to sign in from CLI and bootstrap our project. Please complete all the steps described in Code Generation for the Details View Extension in AEM Assets View.
For the purposes of this guide, we will use
Asset Info Extensionas the extension name and descriptionAsset Infoas the icon tooltip and the side panel titleExtensionas the icon
Also, we will not add Adobe I/O action to our extension.
After this step, we will have a generated project structure with necessary npm dependencies are getting installed.
If you have worked with an Adobe App Builder App before, you will notice that you have generated a starter project of a UI Extension that implements extension points.
Copied to your clipboard.|-- README.md|-- app.config.yaml|-- extension-manifest.json|-- hooks| `-- post-deploy.js|-- jest.setup.js|-- package-lock.json|-- package.json`-- src`-- aem-assets-details-1|-- ext.config.yaml`-- web-src|-- index.html`-- src|-- components| |-- App.js| |-- Constants.js| |-- ExtensionRegistration.js| `-- PanelAssetInfo.js|-- index.css|-- index.js`-- utils.js
Copied to your clipboard# app.config.yamlextensions:aem/assets/details/1:$include: src/aem-assets-details-1/ext.config.yaml
If necessary, you can find other bootstrap options in Bootstrapping new App using the CLI.
Overview of generated components
Routing
The root component src/aem-assets-details-1/web-src/src/components/App.js contains the routing of our application. It defines three routes:
- the first two are the default routes which trigger the
ExtensionRegistrationcomponent responsible for initial extension registration within the AEM Assets View application. - the
asset-inforoute which invokes thePanelAssetInfocomponent responsible for rendering the custom panel content. This route gets called by the AEM Assets View application when the user clicks the custom panel icon. During the registration the extension will specify/#asset-infoas content location.
React Routing determines which part of the extension should be executed depending on the request.
Copied to your clipboardimport React from 'react';import ErrorBoundary from 'react-error-boundary';import { HashRouter as Router, Routes, Route } from 'react-router-dom';import ExtensionRegistration from './ExtensionRegistration';import PanelAssetInfo from './PanelAssetInfo';function App() {return (<Router><ErrorBoundary onError={onError} FallbackComponent={fallbackComponent}><Routes><Route index element={<ExtensionRegistration />} /><Route exact path="index.html" element={<ExtensionRegistration />} /><Route path="asset-info" element={<PanelAssetInfo />} />// YOUR CUSTOM ROUTES SHOULD BE HERE</Routes></ErrorBoundary></Router>);// Methods// error handler on UI rendering failurefunction onError(e, componentStack) {}// component to show if UI fails renderingfunction fallbackComponent({ componentStack, error }) {return (<React.Fragment><h1 style={{ textAlign: 'center', marginTop: '20px' }}>Extension rendering error</h1><pre>{componentStack + '\n' + error.message}</pre></React.Fragment>);}}export default App;
Please note that your code may slightly differ from the given example depending on the version of the template for generation, but the main logic will be the same.
Extension registration
This logic component src/aem-assets-view-1/web-src/src/components/ExtensionRegistration.js registers our extension
with the host AEM instance as soon as it loads, so they can share data and communicate with each other.
Copied to your clipboardimport React from 'react';import { Text } from '@adobe/react-spectrum';import { register } from '@adobe/uix-guest';import { extensionId } from './Constants';function ExtensionRegistration() {const init = async () => {const guestConnection = await register({id: extensionId,methods: {detailSidePanel: {async getPanels() {const { path } = await guestConnection.host.details.getCurrentResourceInfo();if (path && path.toLowerCase().endsWith('.jpeg')) {return [{'id': 'asset-info','tooltip': 'Asset Info','icon': 'Extension','title': 'Asset Info','contentUrl': '/#asset-info','reloadOnThemeChange': 'true',},];}return [];},},},});};init().catch(console.error);return <Text>IFrame for integration with Host (AEM Assets View)...</Text>;}export default ExtensionRegistration;
We use the UIX SDK Guest library and call the register() function, which connects to the host application
and declares methods the host can call on the extension.
The extension descriptor passed to the register() function in particular declares the getPanels()
method, which in turns returns an array of custom panel descriptors upon a request from the AEM Assets View.
In case of our extension, we check the selected asset's path and return a custom panel descriptor only if the asset has a "png" extension, otherwise we return an empty array:
Copied to your clipboardconst { path } = await guestConnection.host.details.getCurrentResourceInfo();if (path && path.toLowerCase().endsWith('.jpeg')) {return [{...},];}return [];
Note that we have to await the getCurrentResourceInfo() method call to get the selected asset's path, as all the communication with the host application is asynchronous.
Custom panel
The src/aem-assets-details-1/web-src/src/components/PanelAssetInfo.js component is responsible for rendering the custom panel content.
Copied to your clipboardimport React, { useState, useEffect } from 'react';import { attach } from '@adobe/uix-guest';import {Flex,Provider,defaultTheme,Link,Text,ButtonGroup,Button,View} from '@adobe/react-spectrum';import { extensionId } from './Constants';export default function PanelAssetInfo() {// Fieldsconst [guestConnection, setGuestConnection] = useState();const [colorScheme, setColorScheme] = useState('light');const [path, setPath] = useState('');useEffect(() => {(async () => {const guestConnection = await attach({ id: extensionId });setGuestConnection(guestConnection);const { colorScheme } = await guestConnection.host.theme.getThemeInfo();setColorScheme(colorScheme);const { path } = await guestConnection.host.details.getCurrentResourceInfo();setPath(path);})()}, []);function displayToast(variant, message) {guestConnection.host.toast.display({ variant, message });}return (<Provider theme={defaultTheme} colorScheme={colorScheme} height={'100vh'}><View backgroundColor="gray-50"><View padding="size-300"><Flex justifyContent="center" marginTop="size-400"><ButtonGroup><Button variant="primary" onPress={() => displayToast('neutral', `Current path: ${path}`)}>current path</Button></ButtonGroup></Flex></View></View></Provider>);}
The PanelAssetInfo establishes a connection with the AEM Assets View using the attach() function and
sets up React Spectrum color scheme based on information obtained from the AEM Assets View.
The displayToast() function is used to display a toast message with the selected asset's path when the user clicks the button.
Test in local environment
From the extension project directory, run the following command:
Copied to your clipboardaio app run
This will deploy the actions to Adobe I/O Runtime while running the UI part on the local machine.
Copied to your clipboard➜ demo-extension-project % aio app runcreate .vscode/launch.jsonNo change to package.json was detected. No package manager install will be executed.To view your local application:-> https://localhost:9080To view your deployed application in the Experience Cloud shell:-> https://experience.adobe.com/?devMode=true#/custom-apps/?localDevUrl=https://localhost:9080press CTRL+C to terminate dev environment
Now your UI extension is reachable via the URL displayed URL in the Terminal. You can test your UI extension within AEM Assets View by adding the following URL parameters:
- ext (extension):
ext=https://localhost:9080 - devMode (development mode):
devMode=true
Sample AEM Assets View URL: `https://experience.adobe.com/?devMode=true&ext=https://localhost:9080&#/assets/workspace/
You may have to accept self-signed certificate as described in the Troubleshooting section.
Run on Stage
After the development is completed, we can test our application on Stage before deploying to Production.
For this we will use the Stage workspace in the Adobe Developer Console.
First, make sure you are logged in proper organization, and use Stage works:
Copied to your clipboard$ aio whereYou are currently in:1. Org: Alpha Org2. Project: AssetInfoExtension3. Workspace: Stage
After that, we build and deploy the frontend files/assets:
Copied to your clipboardaio app deployno backend or a build already exists, skipping action build for 'aem/assets/details/1'✔ Building web assets for 'aem/assets/details/1'no backend, skipping action deploy 'aem/assets/details/1'✔ Deploying web assets for 'aem/assets/details/1'To view your deployed application:-> https://123456-yournamespace-stage.adobeio-static.net/index.htmlTo view your deployed application in the Experience Cloud shell:-> https://experience.adobe.com/?devMode=true#/custom-apps/?localDevUrl=https://123456-yournamespace-stage.adobeio-static.net/index.htmlFor a developer preview of your UI extension in the AEM Assets View environment, follow the URL:-> https://experience.adobe.com/aem/extension-manager/preview/<preview hash>New Extension Point(s) in Workspace 'Stage': 'aem/assets/details/1'Successful deployment 🏄
You can use the staging deployment URL (https://123456-yournamespace-stage.adobeio-static.net/index.html in this example)
to test the extension with AEM Assets View by passing this URL to the ext= URL parameter as described in Load UI Extension section.
To learn more about deployment, please refer to Deploying the Application and Deployment Overview.
Deploy on Production and create approval request
After the application has been completed, tested locally, and on Stage: we are ready to deploy it to Production.
Refer to the UI Extensions Development Flow to learn how to do this.
Also in this document you can find the whole development flow of a UI Extensions.


