Install a UXP plugin
UXP plugins are commonly installed directly by the Creative Cloud Desktop application.
Overview
The installation options are slightly different depending on the distribution channel you are using—i.e., whether you are installing a plugin directly from the Creative Cloud Marketplace, a .ccx installer file obtained from independent channels, or deploying it in an enterprise environment.
| Distribution Channel | Installation Method |
|---|---|
Creative Cloud Marketplace | Install via the Creative Cloud Desktop application |
Independent ( .ccx installer) | - Double-click on the .ccx file |
- Use the UPIA tool | |
Enterprise | Use the Admin Console or the UPIA tool |
Enterprise Distribution
For details on how to distribute UXP plugins in enterprise environments, please refer to the dedicated Enterprise Distribution guide.
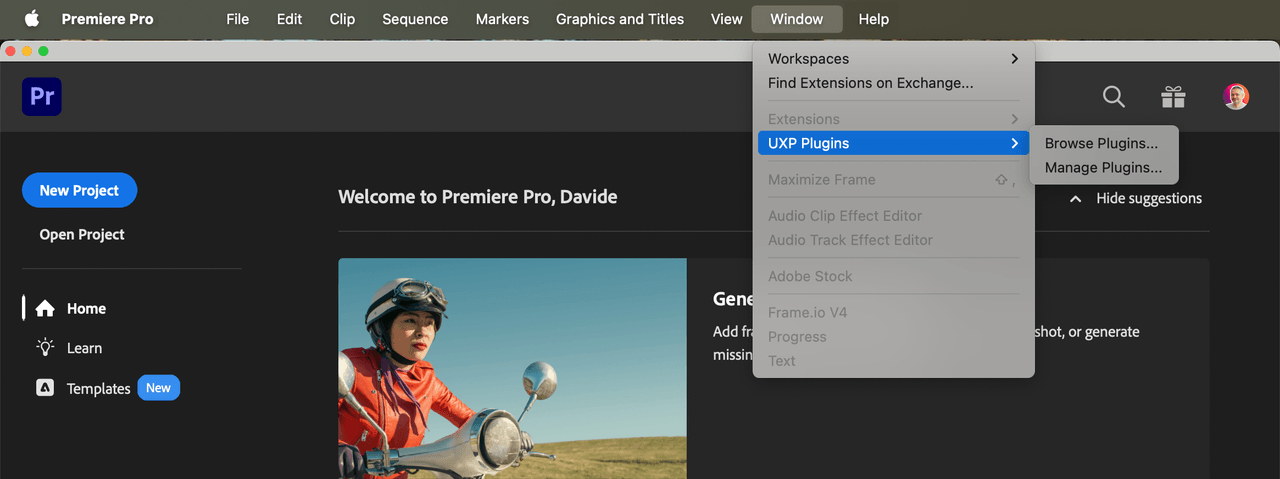
UXP Plugins in Premiere are found in the Window > UXP Plugins menu.
Use the Creative Cloud Marketplace
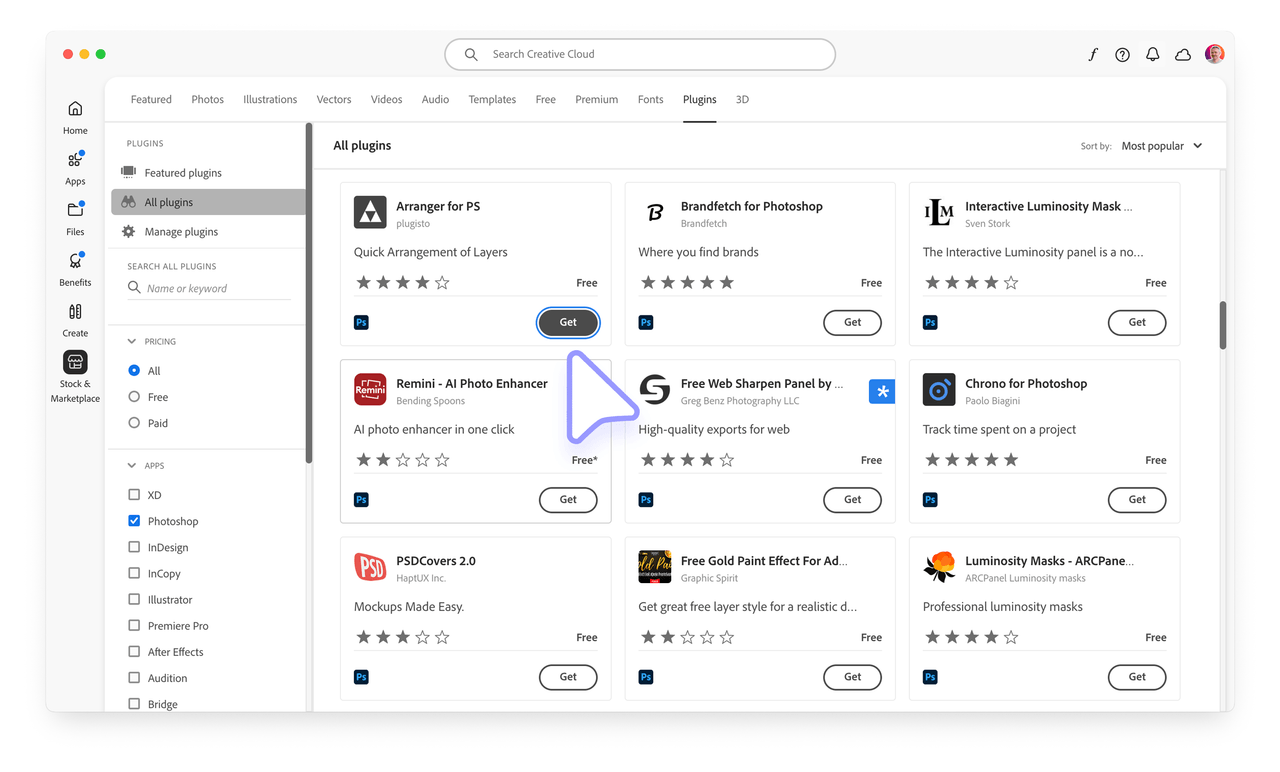
UXP plugins belong to the Stock & Marketplace category (left-hand sidebar) in the Creative Cloud Desktop application, Plugins tab (top navigation). The Plugins sidebar allows you to browse a curated list of "Featured plugins" or "All plugins".
To install a plugin of your choice, click the Get button on the plugin card.
A confirmation dialog will appear, informing you about the permissions the plugin needs (the ones that developers have declared in the plugin's manifest); click OK to confirm the installation.

If everything goes to plan, the plugin will be available in the "Manage Plugins" section of the Creative Cloud Desktop application, as well as in the host application. For Premiere, it will be the Window > UXP Plugins menu.

Use a .ccx installer file
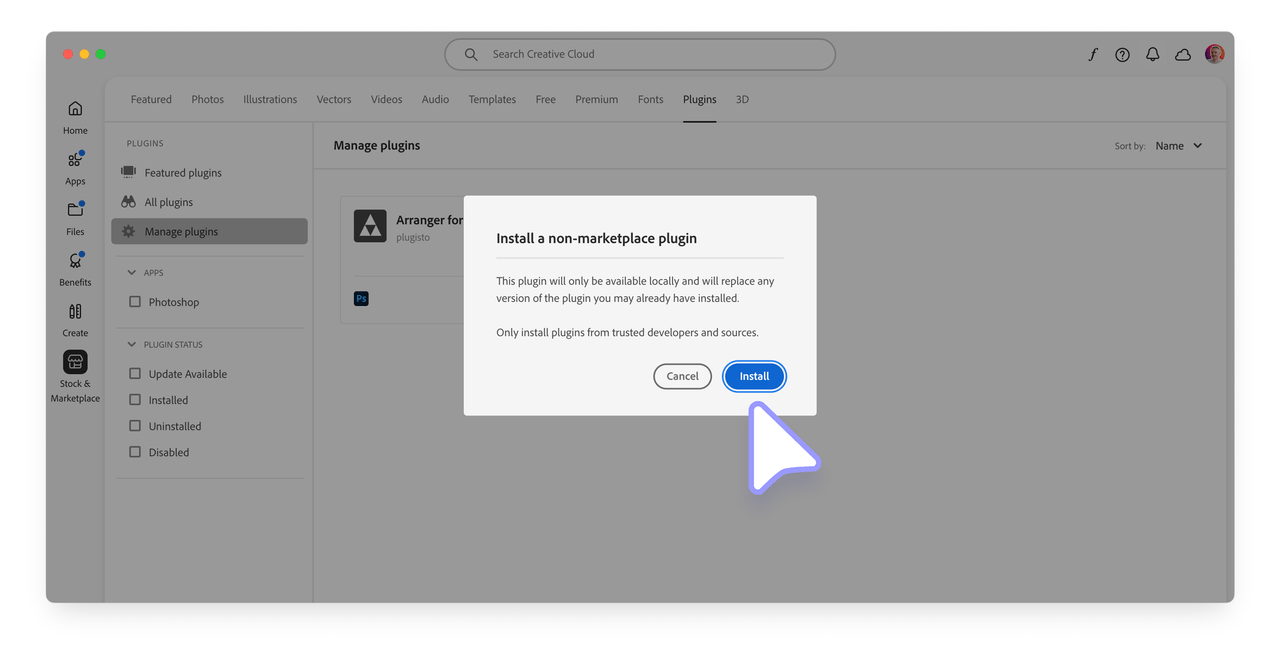
If you have developed or acquired a UXP plugin from a third-party, you can install it by double-clicking on the .ccx file. If not already open, the Creative Cloud Desktop application will launch. You will be prompted with an additional warning dialog since the plugin doesn't come from the Creative Cloud Marketplace; click on the Install button to continue.
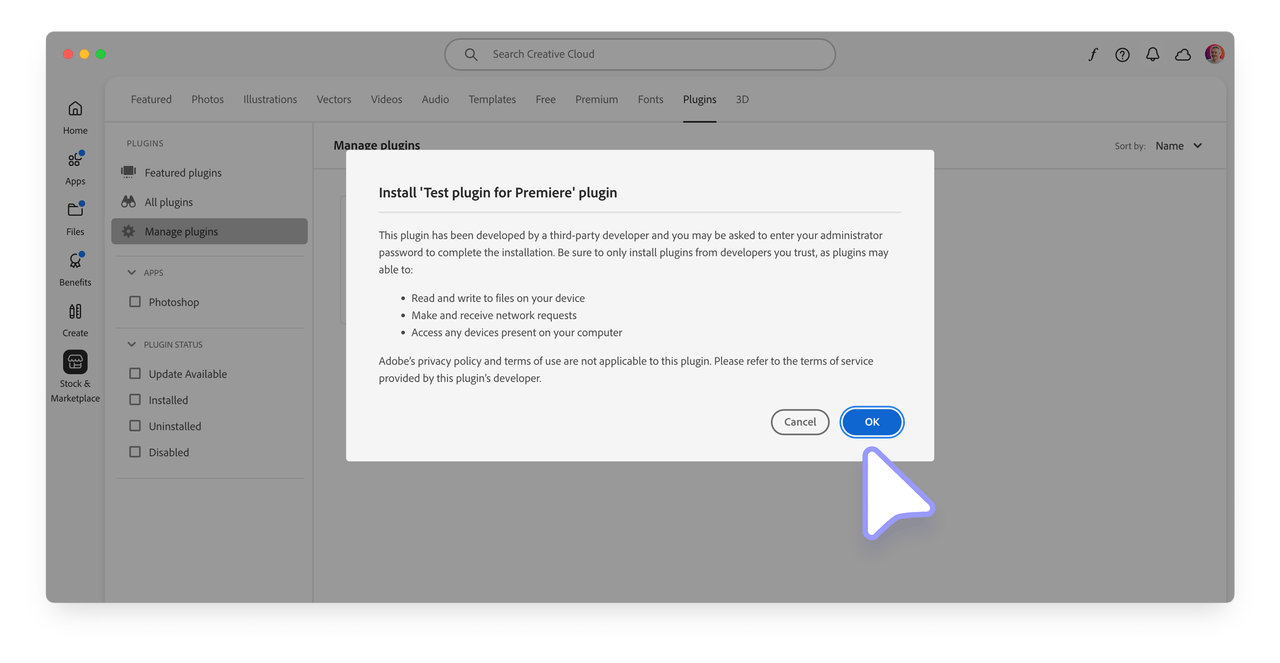
Depending on the specific access level the plugin requires (for example, to the Network or the Local FileSystem—see this section of the Manifest reference for more details), users may need to grant administrative privileges to the plugin.
Once the installation is complete, the plugin will be available in the Plugins section of the Creative Cloud Desktop application application, as well as in the host application. For Premiere, it will be the Window > UXP Plugins menu.
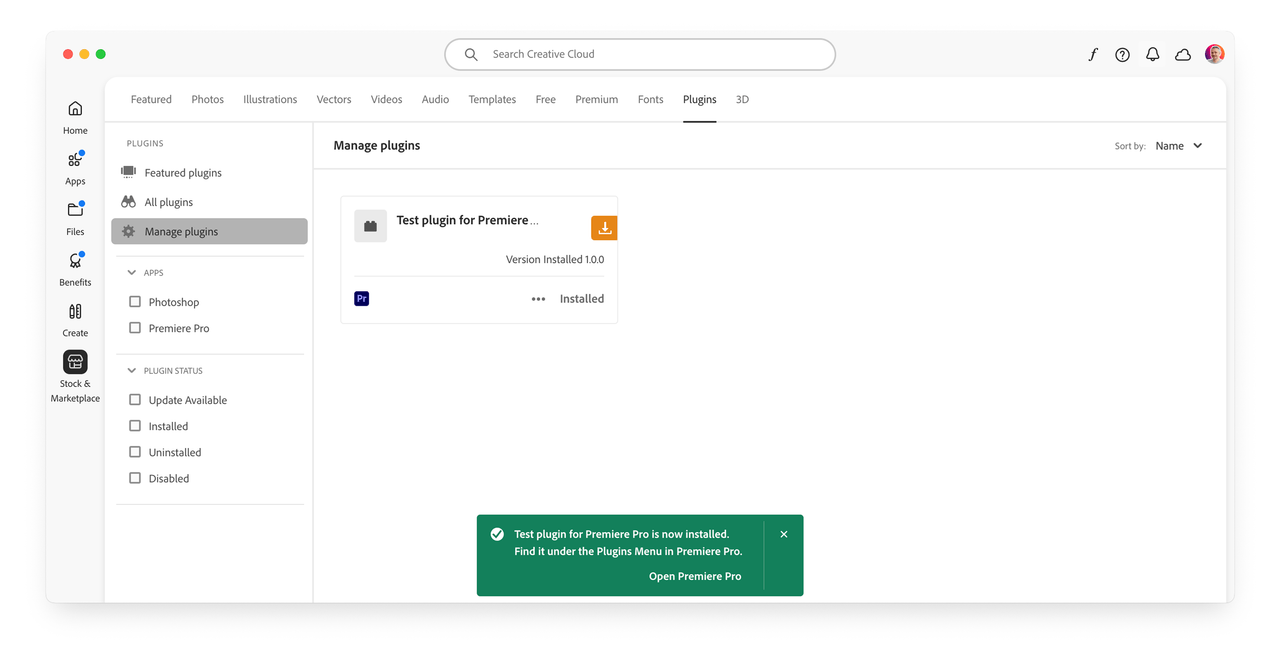
If the installation fails, click the Details link on the red toast to open the Logs and check the error message. See Troubleshooting for more details.
Uninstall a Plugin
In the Creative Cloud Desktop application, "Manage Plugins" tab, right-click on the ••• icon within a plugin card and select Uninstall to delete it. There's also the option to Disable the plugin, which will remove it from the host application but keep it installed in the Creative Cloud Desktop application. Both actions will pop a confirmation dialog.
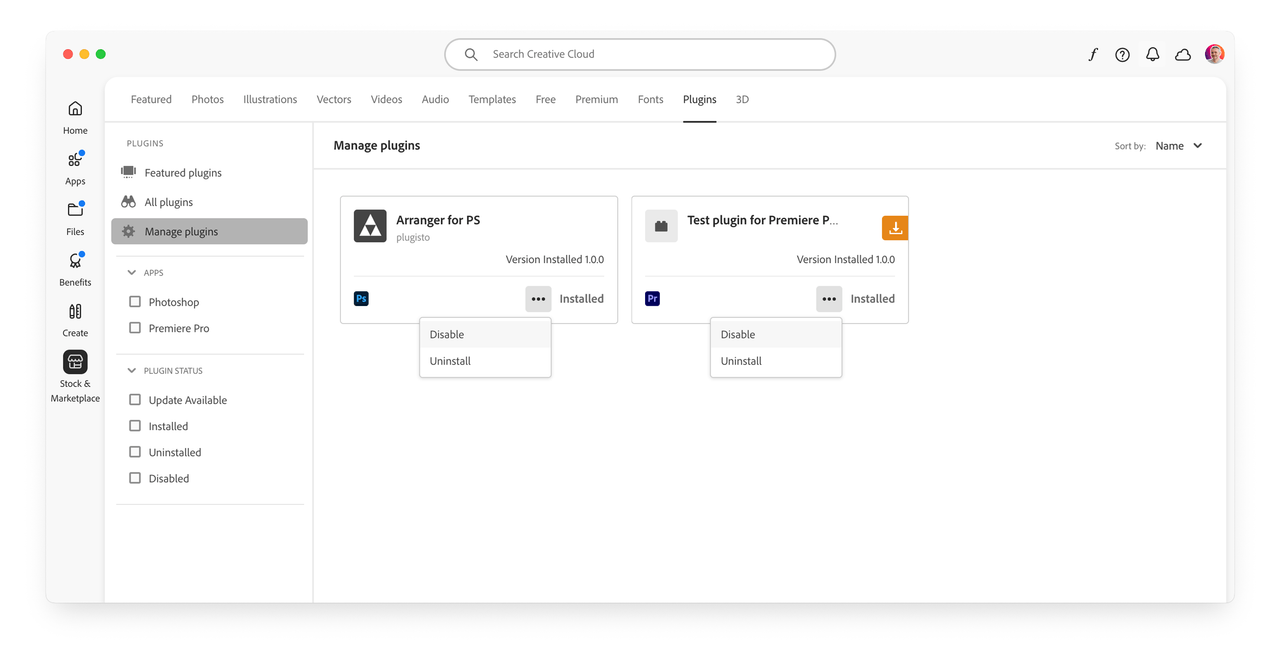
As shown in the screenshot above, there’s a distinction between plugins installed from the Creative Cloud Marketplace (left) and those installed from a .ccx file (right, indicated by the orange download icon).
When you uninstall a plugin that was installed from the Marketplace, it's removed from the host application but remains visible in the Manage Plugins tab. This is because you still have the right to reinstall it at any time. In contrast, plugins installed from a .ccx file disappear entirely from the Manage Plugins tab once uninstalled.
Use the UPIA tool
Under the hood, the Creative Cloud Desktop application uses a command-line utility called the Unified Plugin Installer Agent (UPIA) to manage UXP plugins. Please refer to the UPIA tool documentation for a detailed usage guide for both macOS and Windows.
The UPIA tool can install, uninstall, and list plugins. Here's a quick summary of the available commands.
On macOS
Open the Terminal and cd to the UPIA executable folder—admin privileges may be required:
Copied to your clipboardcd "/Library/Application Support/Adobe/Adobe Desktop Common/RemoteComponents/UPI/UnifiedPluginInstallerAgent/UnifiedPluginInstallerAgent.app/Contents/macOS"./UnifiedPluginInstallerAgent --help./UnifiedPluginInstallerAgent --version./UnifiedPluginInstallerAgent --install <extension-file-path>./UnifiedPluginInstallerAgent --remove <extension-file-path>./UnifiedPluginInstallerAgent --list <all || product display name>
A few examples:
Copied to your clipboard./UnifiedPluginInstallerAgent --install "~/Desktop/Test-xjluvc_premierepro.ccx"./UnifiedPluginInstallerAgent --remove "startup-test"./UnifiedPluginInstallerAgent --list all
On Windows
Open the Command Prompt, type this command and press Enter:
Copied to your clipboardcd "C:\Program Files\Common Files\Adobe\Adobe Desktop Common\RemoteComponents\UPI\UnifiedPluginInstallerAgent"
Here's a list of the available commands—admin privileges may be required:
Copied to your clipboardUnifiedPluginInstallerAgent.exe /helpUnifiedPluginInstallerAgent.exe /versionUnifiedPluginInstallerAgent.exe /install <extension-file-path>UnifiedPluginInstallerAgent.exe /remove <extension-file-path>UnifiedPluginInstallerAgent.exe /list <all || product display name>
A few examples:
Copied to your clipboardUnifiedPluginInstallerAgent.exe /install "C:\Temp\Test-xjluvc_premierepro.ccx"UnifiedPluginInstallerAgent.exe /remove "startup-test"UnifiedPluginInstallerAgent.exe /list all
Troubleshooting
While UXP plugins are generally very reliable in terms of management, occasional issues may arise.
- It is helpful to run the host application at least once before installing any plugin.
- If the Creative Cloud Desktop application is not launching when you double-click on a
.ccxfile, try locating the UPIA executable and running it manually. The file extension may not have been associated properly, or there might be permission issues. - It may happen that the UPIA executable is either corrupted or not present in the system. Reinstalling the Creative Cloud Desktop application may resolve the issue. If you are installing plugins in an enterprise environment, please check here how to include the UPIA in your package.
- Try using Anastasiy's Extension Manager (third-party tool) to install the plugin.
- Reach out to ccintrev@adobe.com for support. If further troubleshooting is necessary, you may be asked to run the Log Collector tool.
