Installation
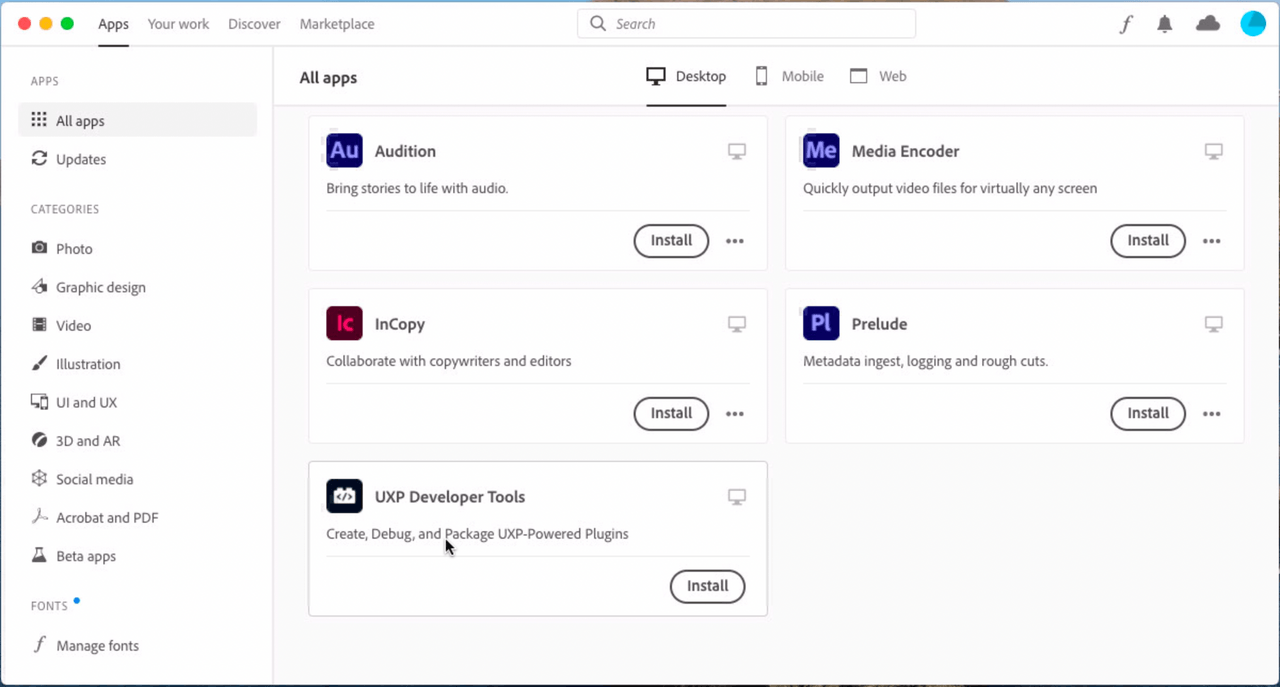
You can install the UXP Developer Tools by clicking here or by following these steps:
- Launch Adobe Creative Cloud Application. If not installed, download and install Creative Cloud.
- Sign in with your Adobe account if not already signed in.
- Click on
All appssection, and you should see "UXP Developer Tools" listed.
- Click on the
Installbutton for theUXP Developer Toolscard to start installation.
Launching for the first time
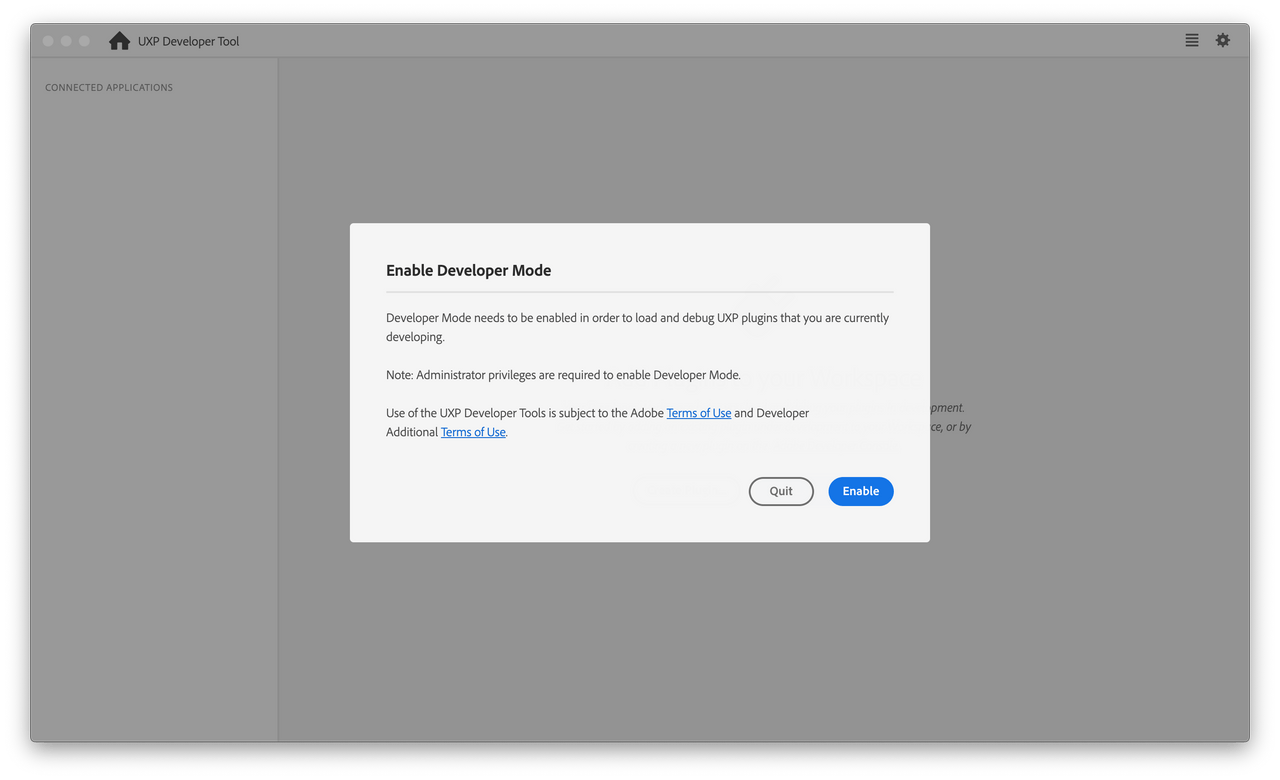
When you launch the Developer Tool for the first time, you'll be prompted to enable Developer Mode. This is required in order for you to load plugins in development into Adobe XD.

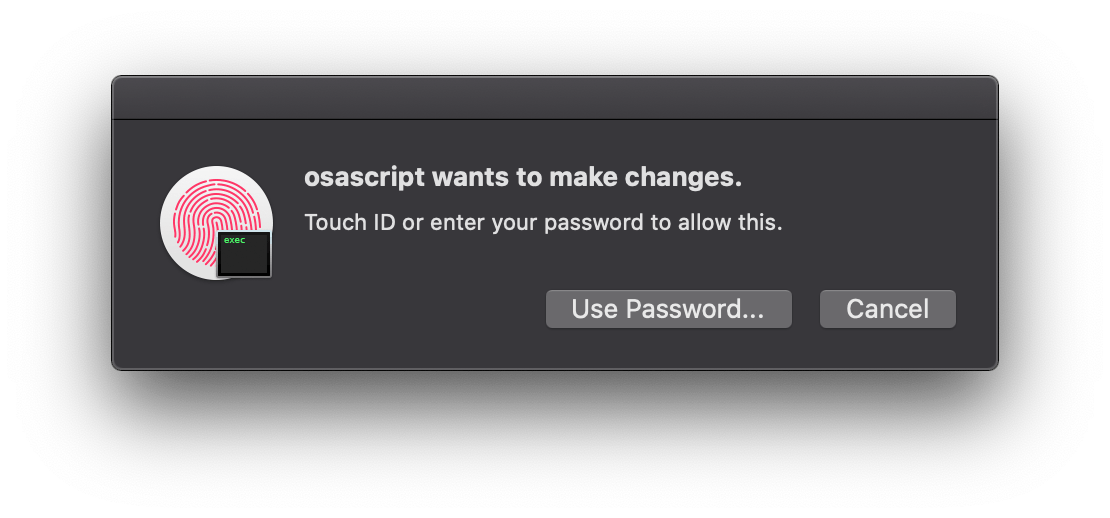
Once you click Enable, elevated permissions will be requested, and you may be required to enter your password or approve an action from the Developer Tool.

If you have problems with this step, you can also configure Developer Mode manually, although you must have Administrative privileges to do so:
- Quit the UXP Developer Tool
- Navigate to
/Library/Application Support/Adobe/UXP/Developeron macOS, or%CommonProgramFiles%/Adobe/UXP/Developeron Windows. (If the folder does not exist, you can create it -- you'll need administrative rights.) - Create a new file named
settings.jsonwith the following contents (You'll need administrative rights to save the file):Copied to your clipboard{"developer" : true} - Launch the UXP Developer Tool again.


